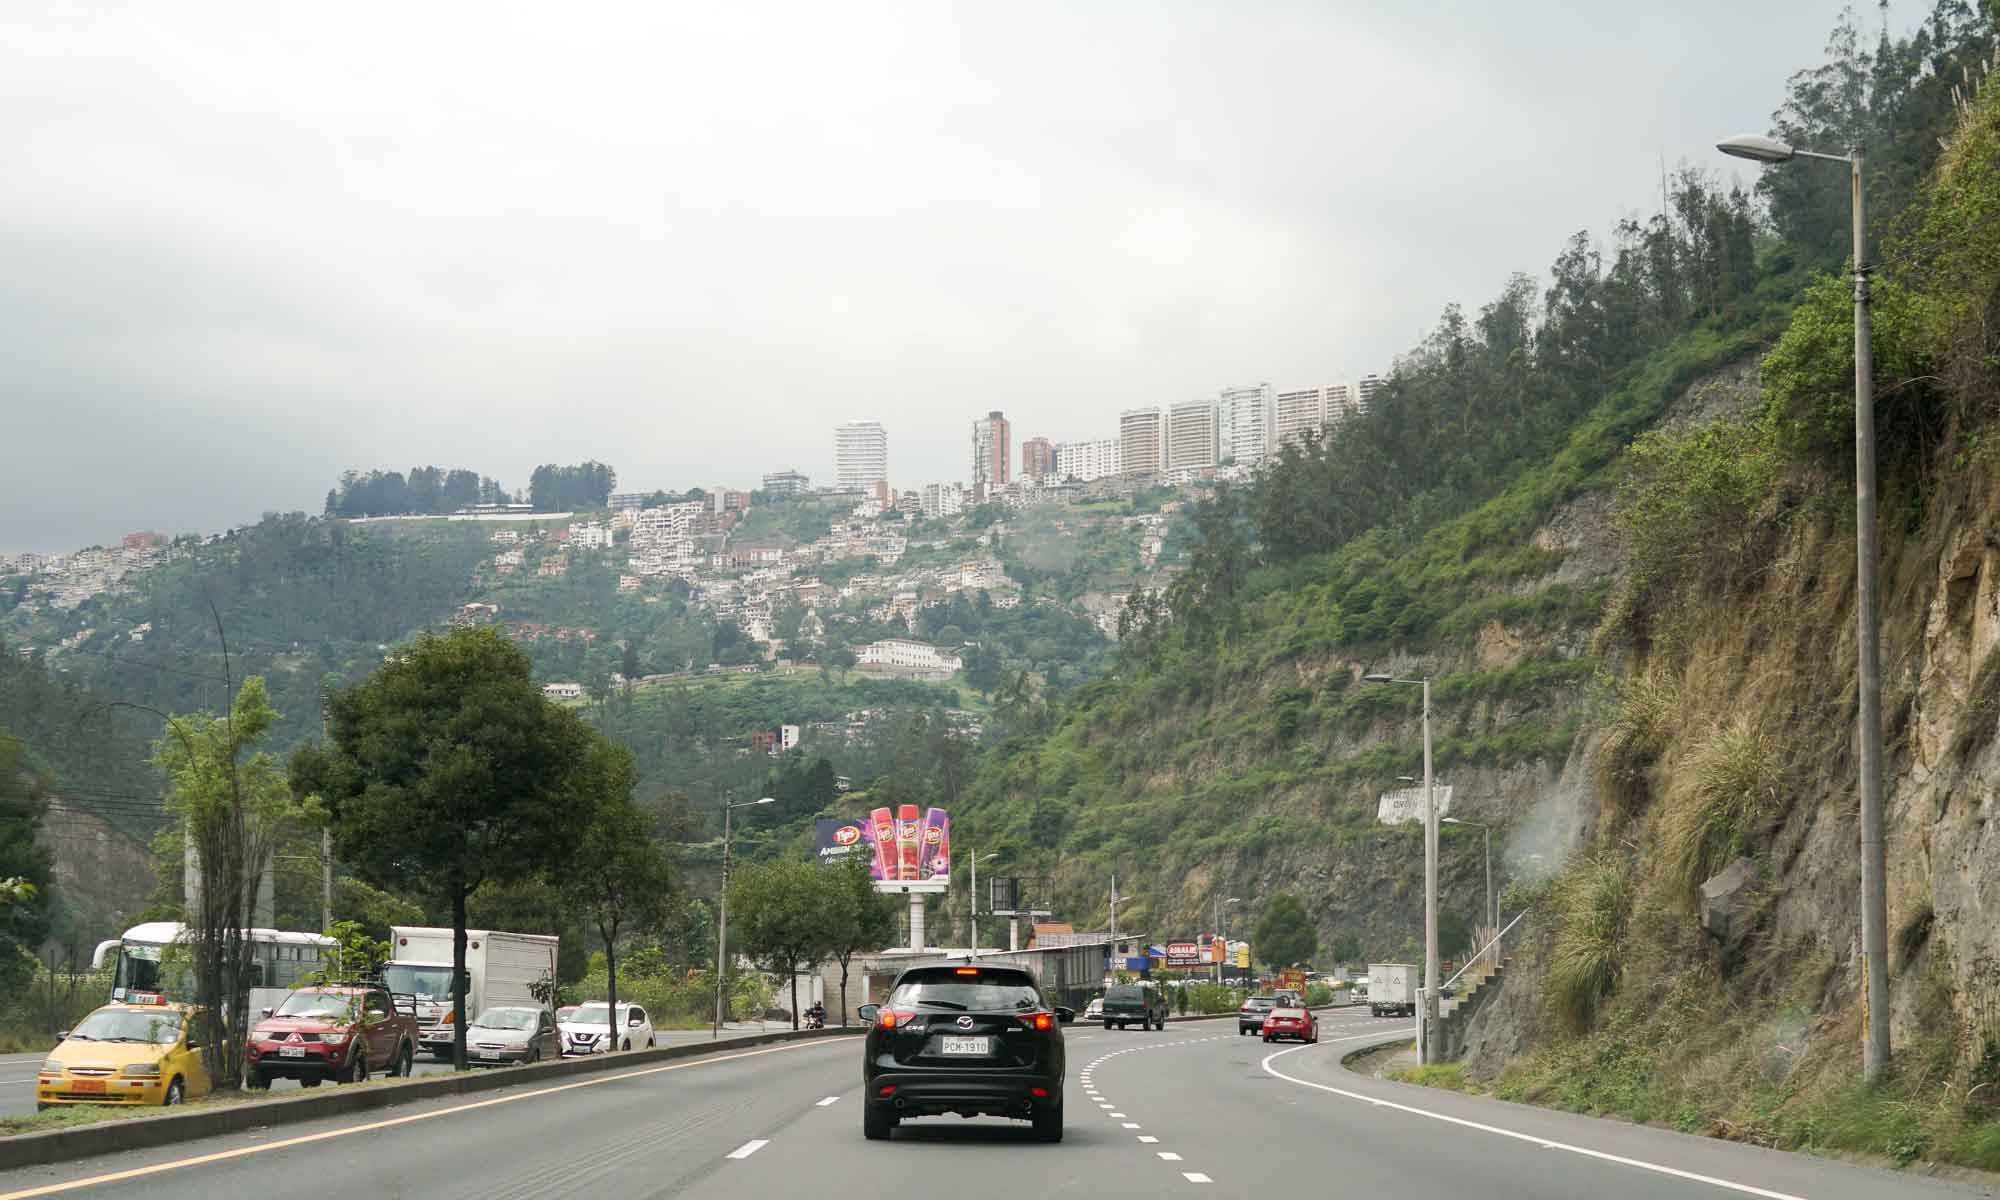
When we visit a new country, we always love to get behind the wheel and venture out on a road trip! Visiting Ecuador was no different. We rented a car in Quito for a little under a week and drove all the way down south via the Avenue of the Volcanoes and ended up in Guayaquil, making a number of stops along the way.
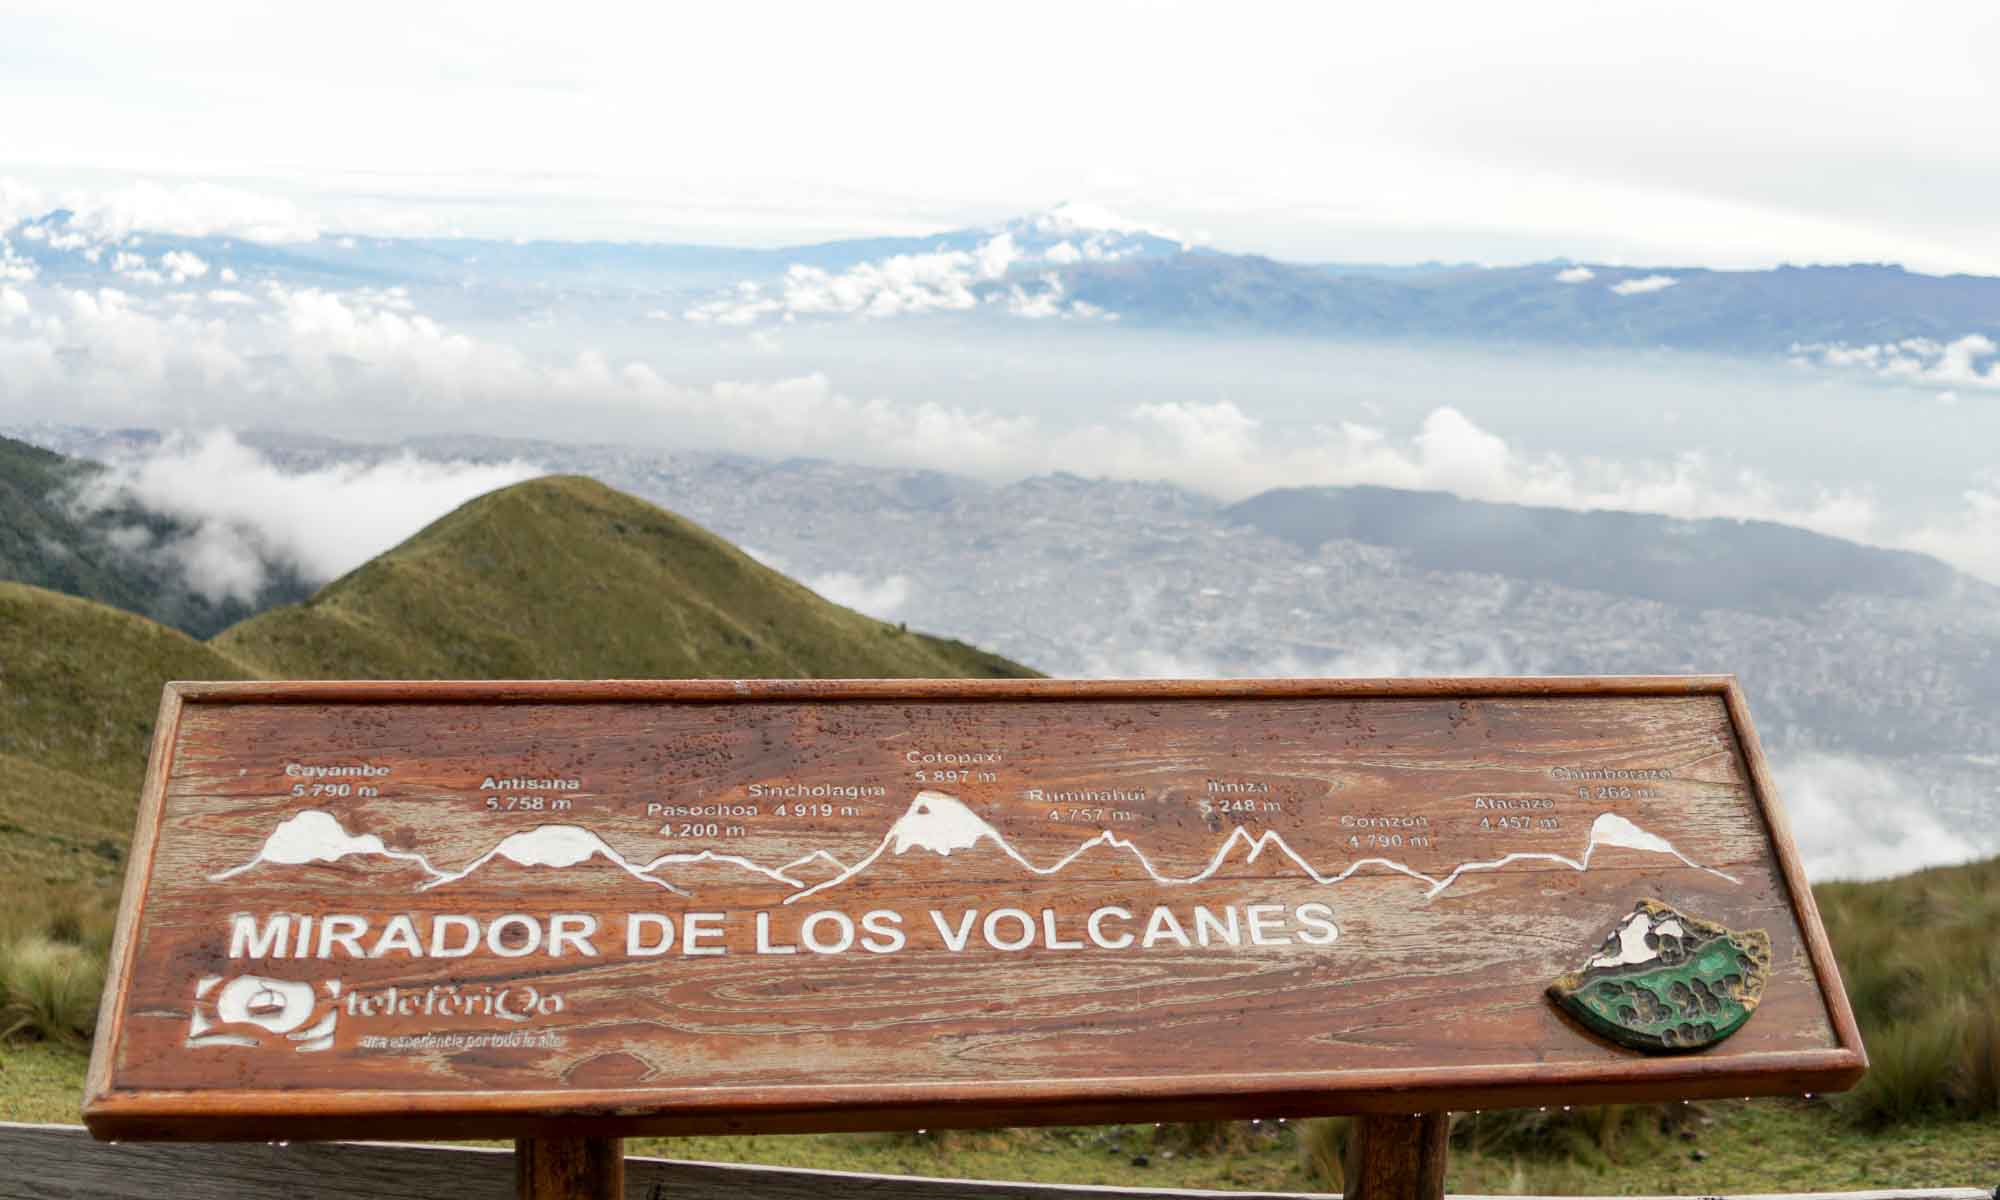
What is the Avenue of the Volcanoes?
This is a route within the Ecuadorian section of the Andes mountains that traverses from Quito in the north, to Cuenca in the south and is lined with over 14 volcanoes, all with a height of at least 5,000 meters.
First leg – Quito to Latacunga
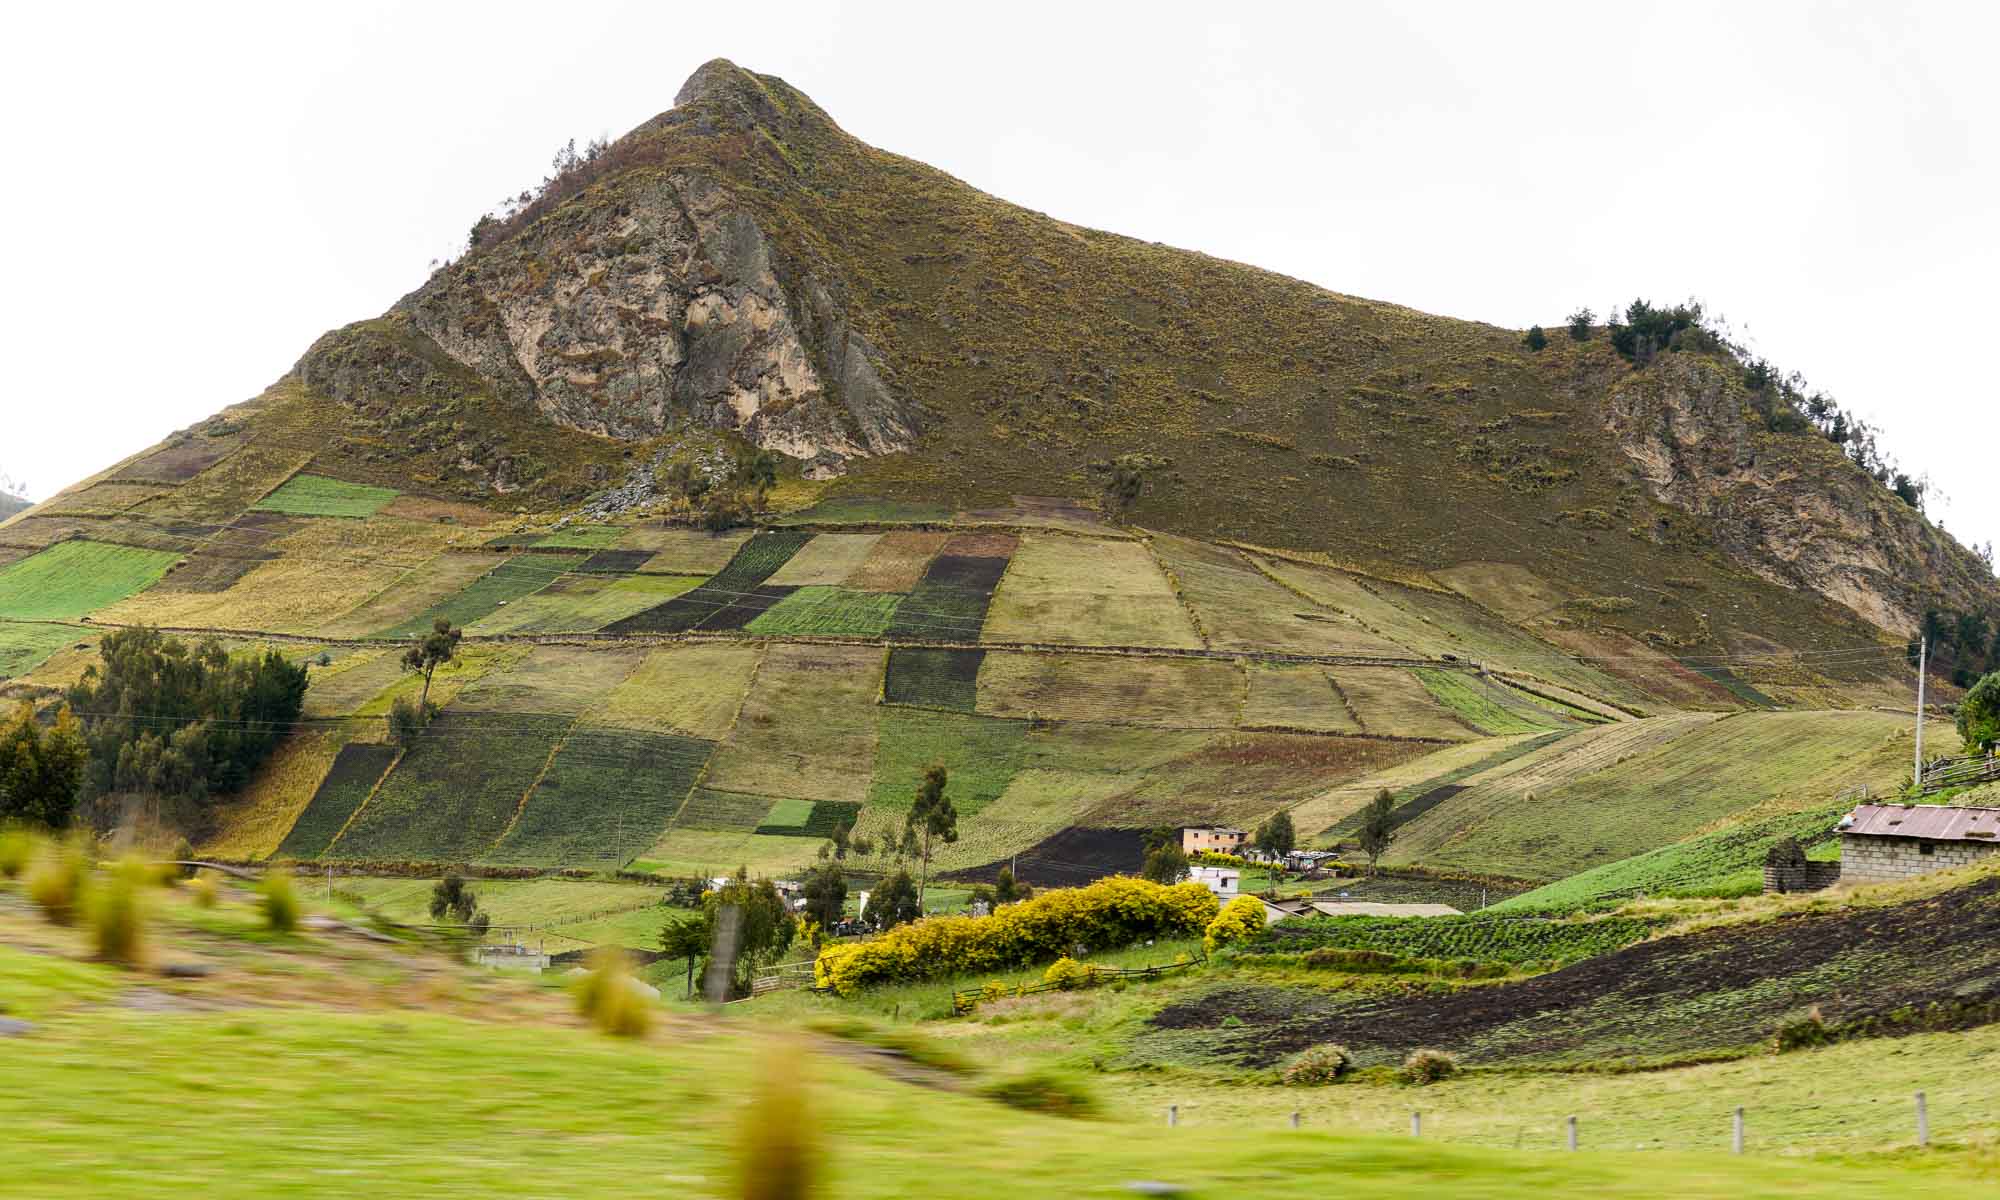
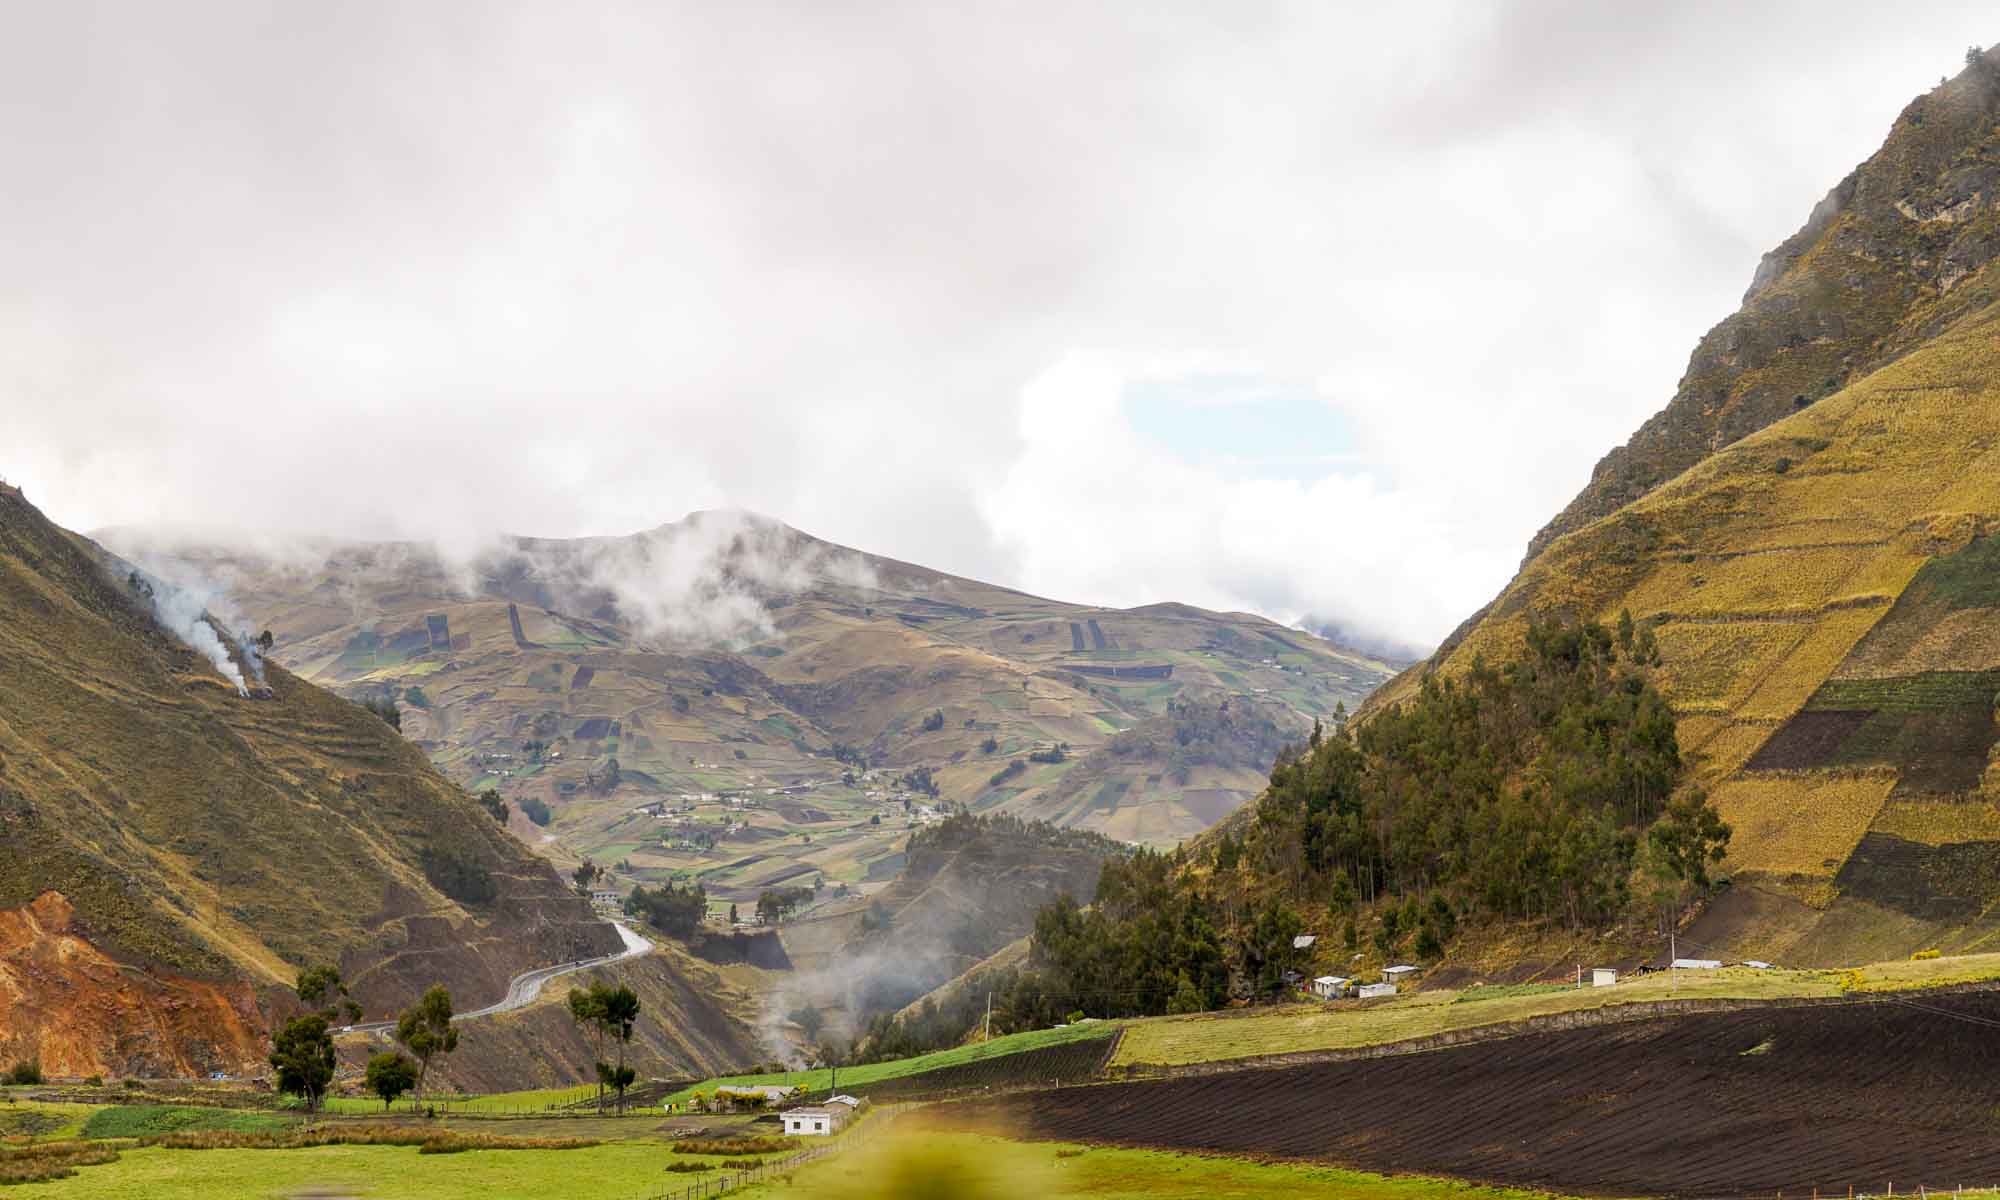
As we left Quito, the scenery changed from small villages scattered along the Pan American highway to lush green sections of the Andes mountains with snow capped sections thrown in between. Amazingly, the Ecuadorian farmer has mastered the art of farming on an almost vertical mountain edges, with rustic if not archaic looking tools and machinery.
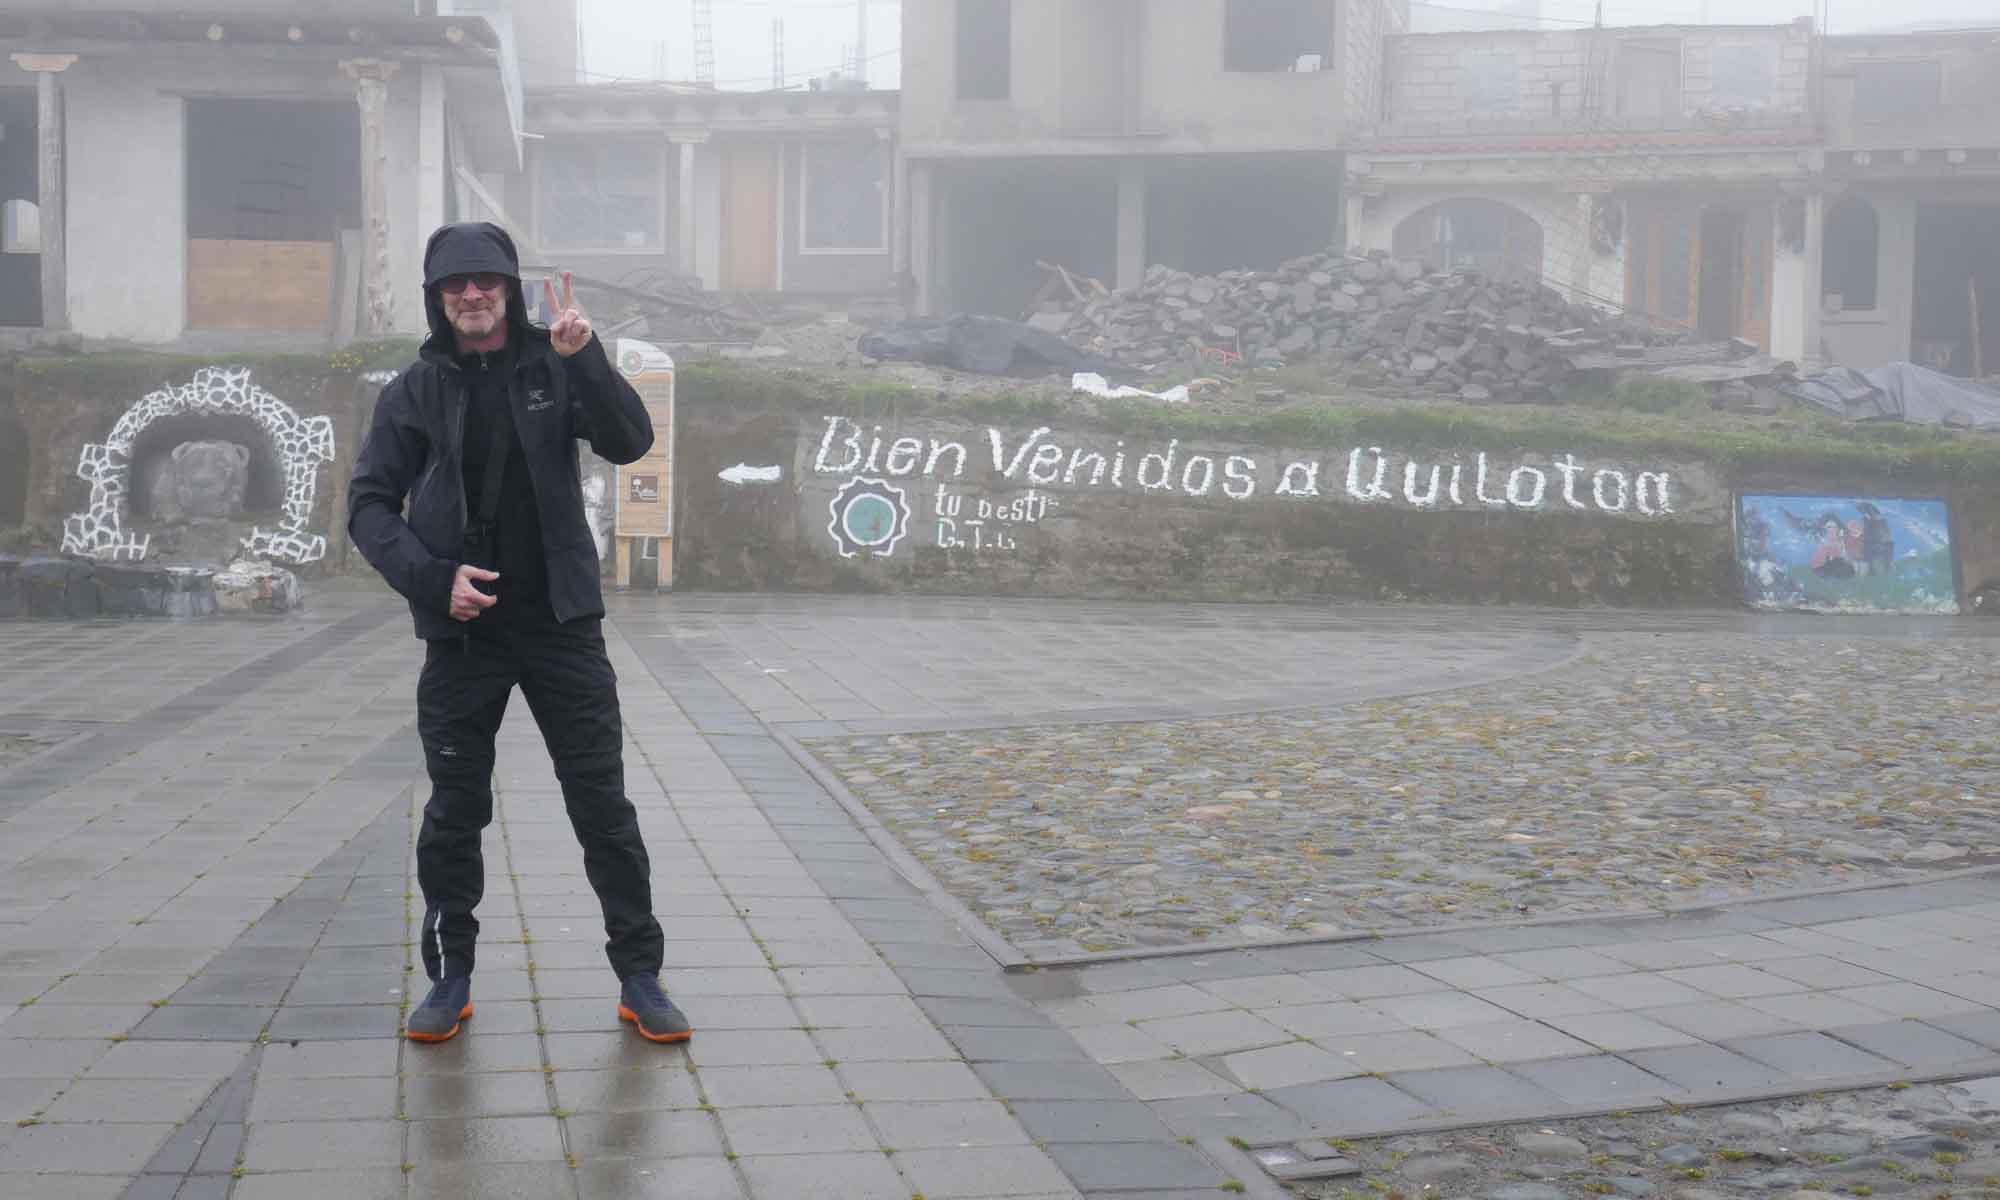
Laguna Quilotoa
Our plan for the day was to hike to Laguna Quilotoa, a gorgeous crater-lake in the Quilotoa volcano. The hike down to the lake takes approximately 30 minutes, while the hike back up can take anywhere from 1 to 2 hours. However, as we left the Pan American highway and drove through the windy uphill roads, we seemed to join the clouds and were soon engulfed in a thick mist and fog. By the time we reached the parking lot for the lake, the mist was so thick it had turned into rain, and we could hardly see in front of us. Nevertheless, we hopped out of the car, excitedly noticed some llamas and alpacas,and headed for the lake. After a few seconds of getting pummeled by the rain and seeing next to nothing…we gave up the idea of the hike and scrambled back into the car.
Useful information
- We heard that its best to hike either to the lake or the loop around the lake, early in the morning. At that time one has a better chance of less mist and clouds.
- Quilotoa is about 1 hour from Latacunga up windy roads. We saw hardly any petrol stations on that road so its best to always fill up whenever you see one.
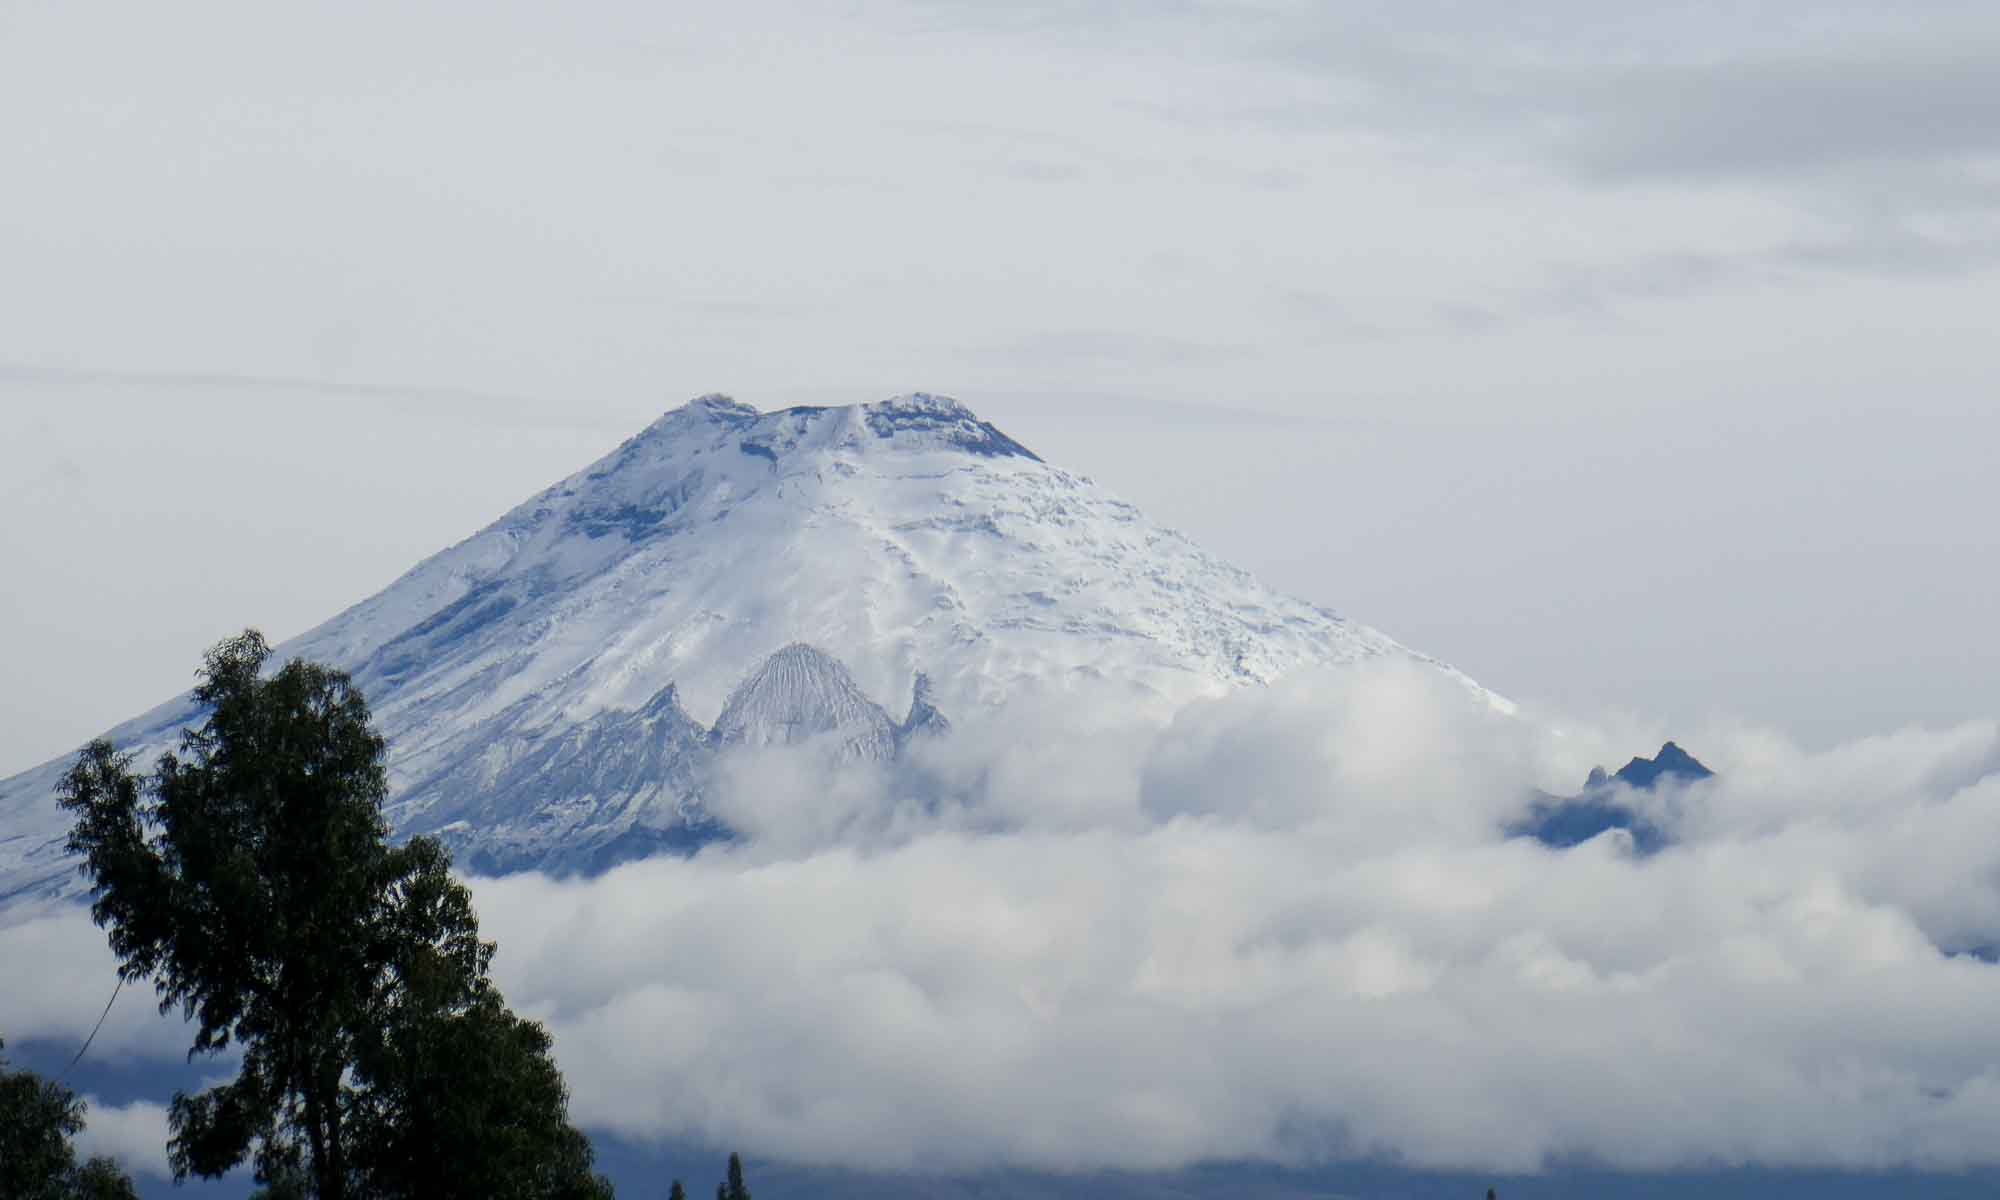
Cotopaxi Volcano
After we got a glimpse of this snow-capped volcano from Quito, we knew we wanted to hike the volcano. Cotopaxi is the second highest summit in Ecuador at a height of 5,897 meters, and last erupted in 2015. Due to most of the national park being flat, it stands out for miles, and is visible on most days.
We set out early after breakfast, armed with all our hiking gear, ready to conquer the volcano. We had heard that given the altitude it would be a challenge (if we were not yet fully acclimatized) but still had high hopes.
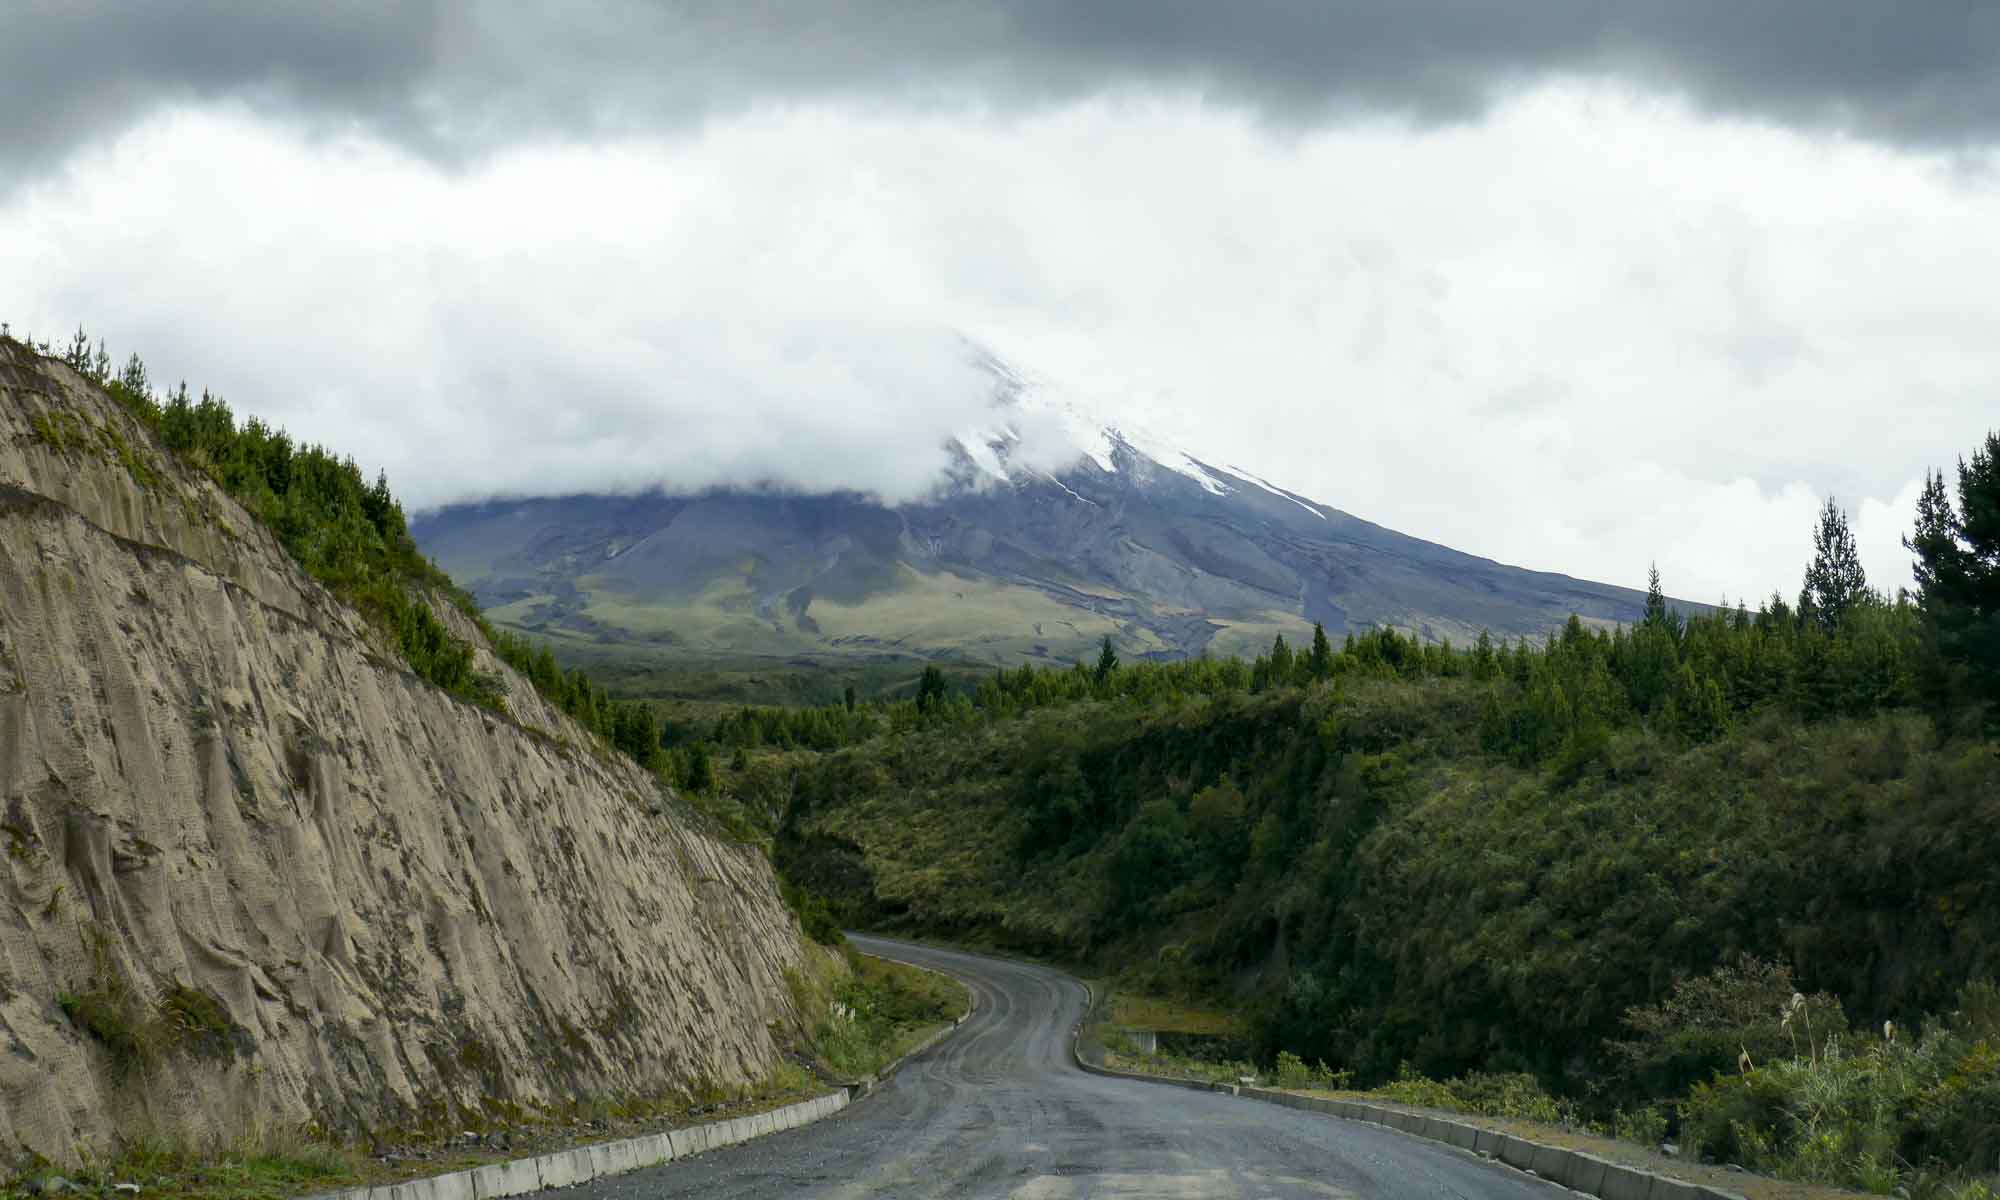
The drive to the park entrance from Latacunga took approximately 35 minutes. All visitors are required to sign in at the entrance, and show their passports. At this point, we were accosted by various guides offering a ride to the parking lot, which is at the foot of the volcano. We rejected all offers, and set off on what was to be a very interesting ride. For the first 10 minutes, the road is paved, but after that it disappeared and the next 45 minutes were spent navigating through a windy uphill dirt road with varying sizes of potholes.
Breathing a sigh of relief, we finally made it to the parking lot, where we had some exciting moments parking the car (let me just say, at one point it looked like we might need some assistance from some other visitors to haul the car out of the volcanic ash/mud combo!)
The Hike!
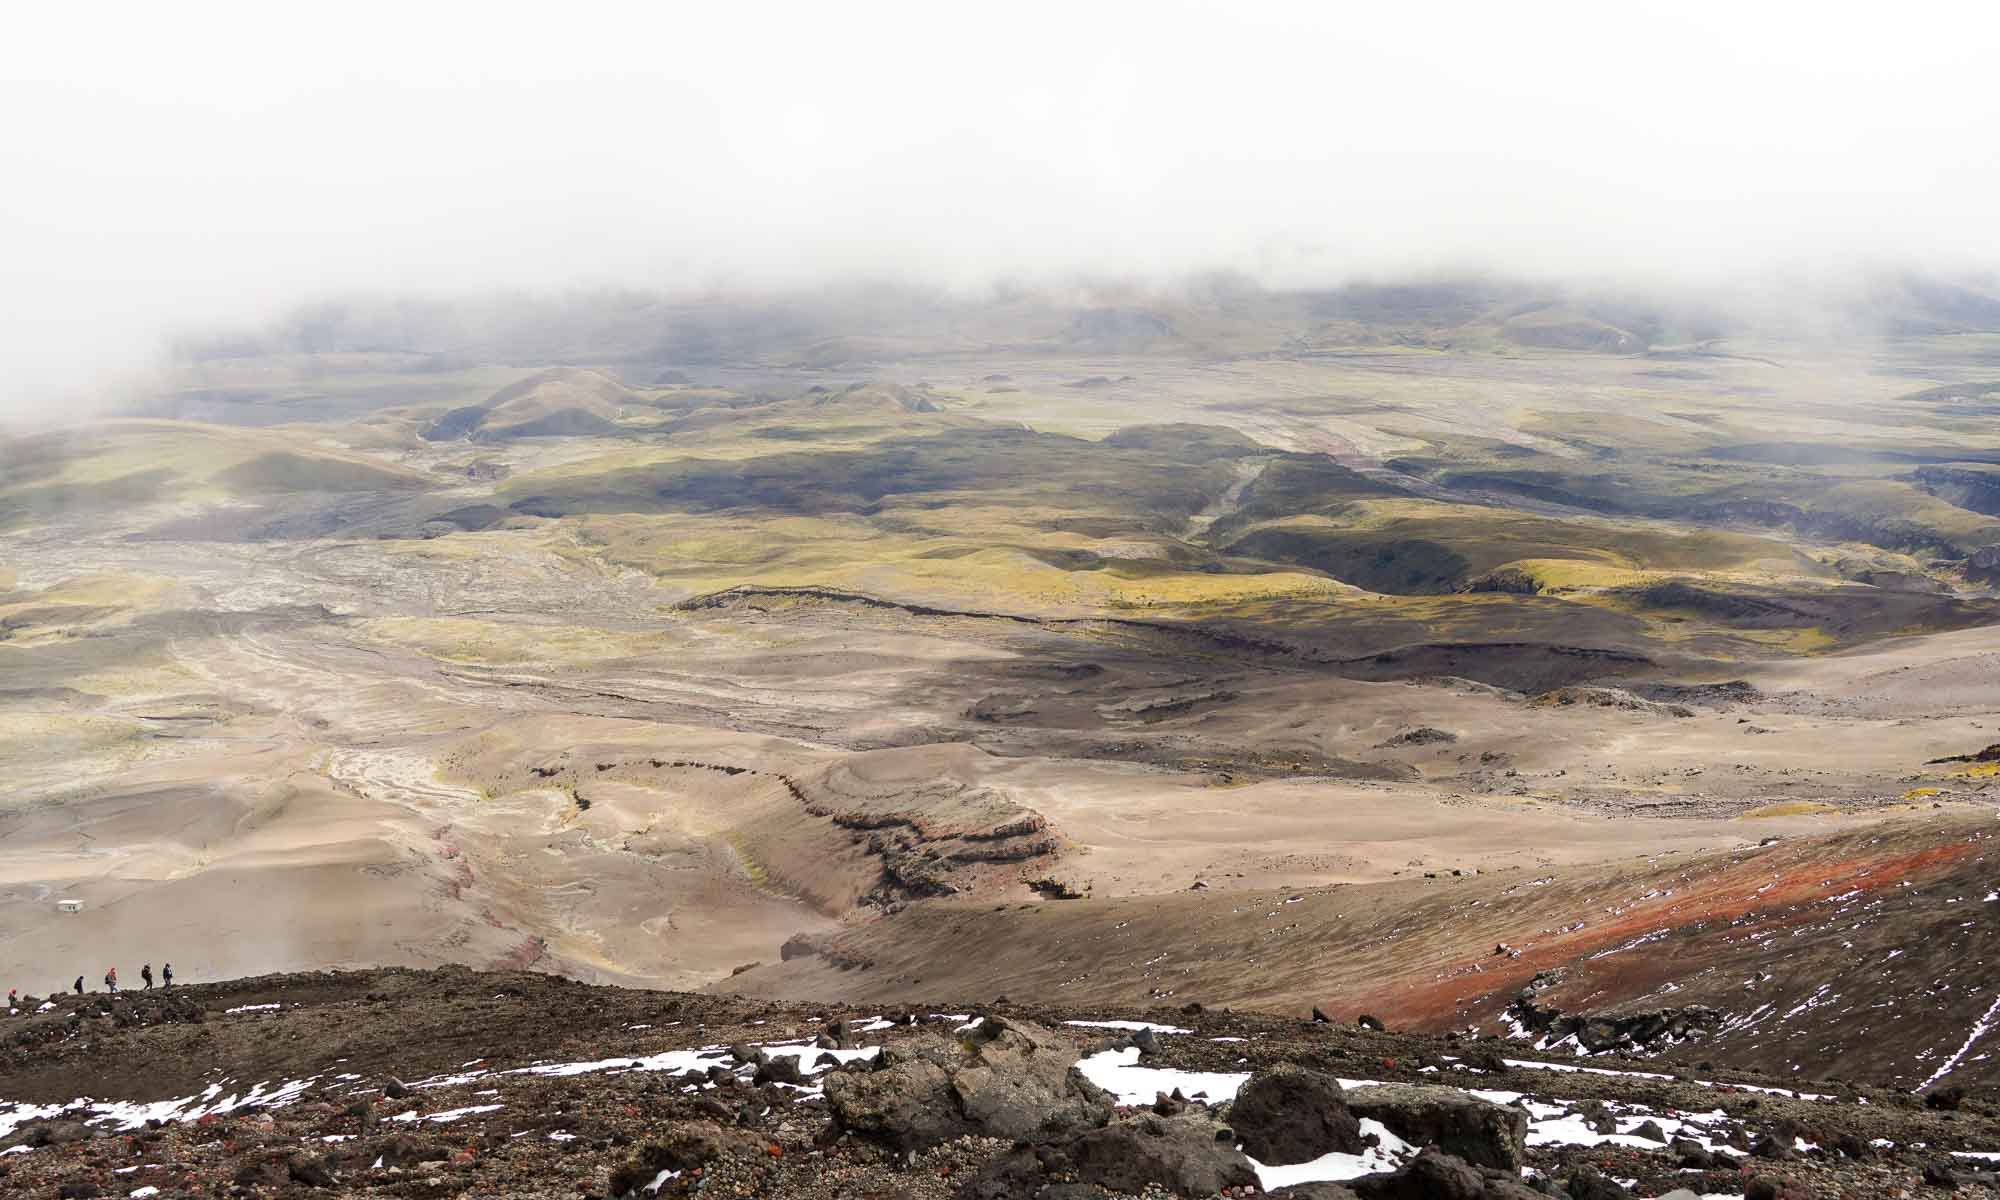
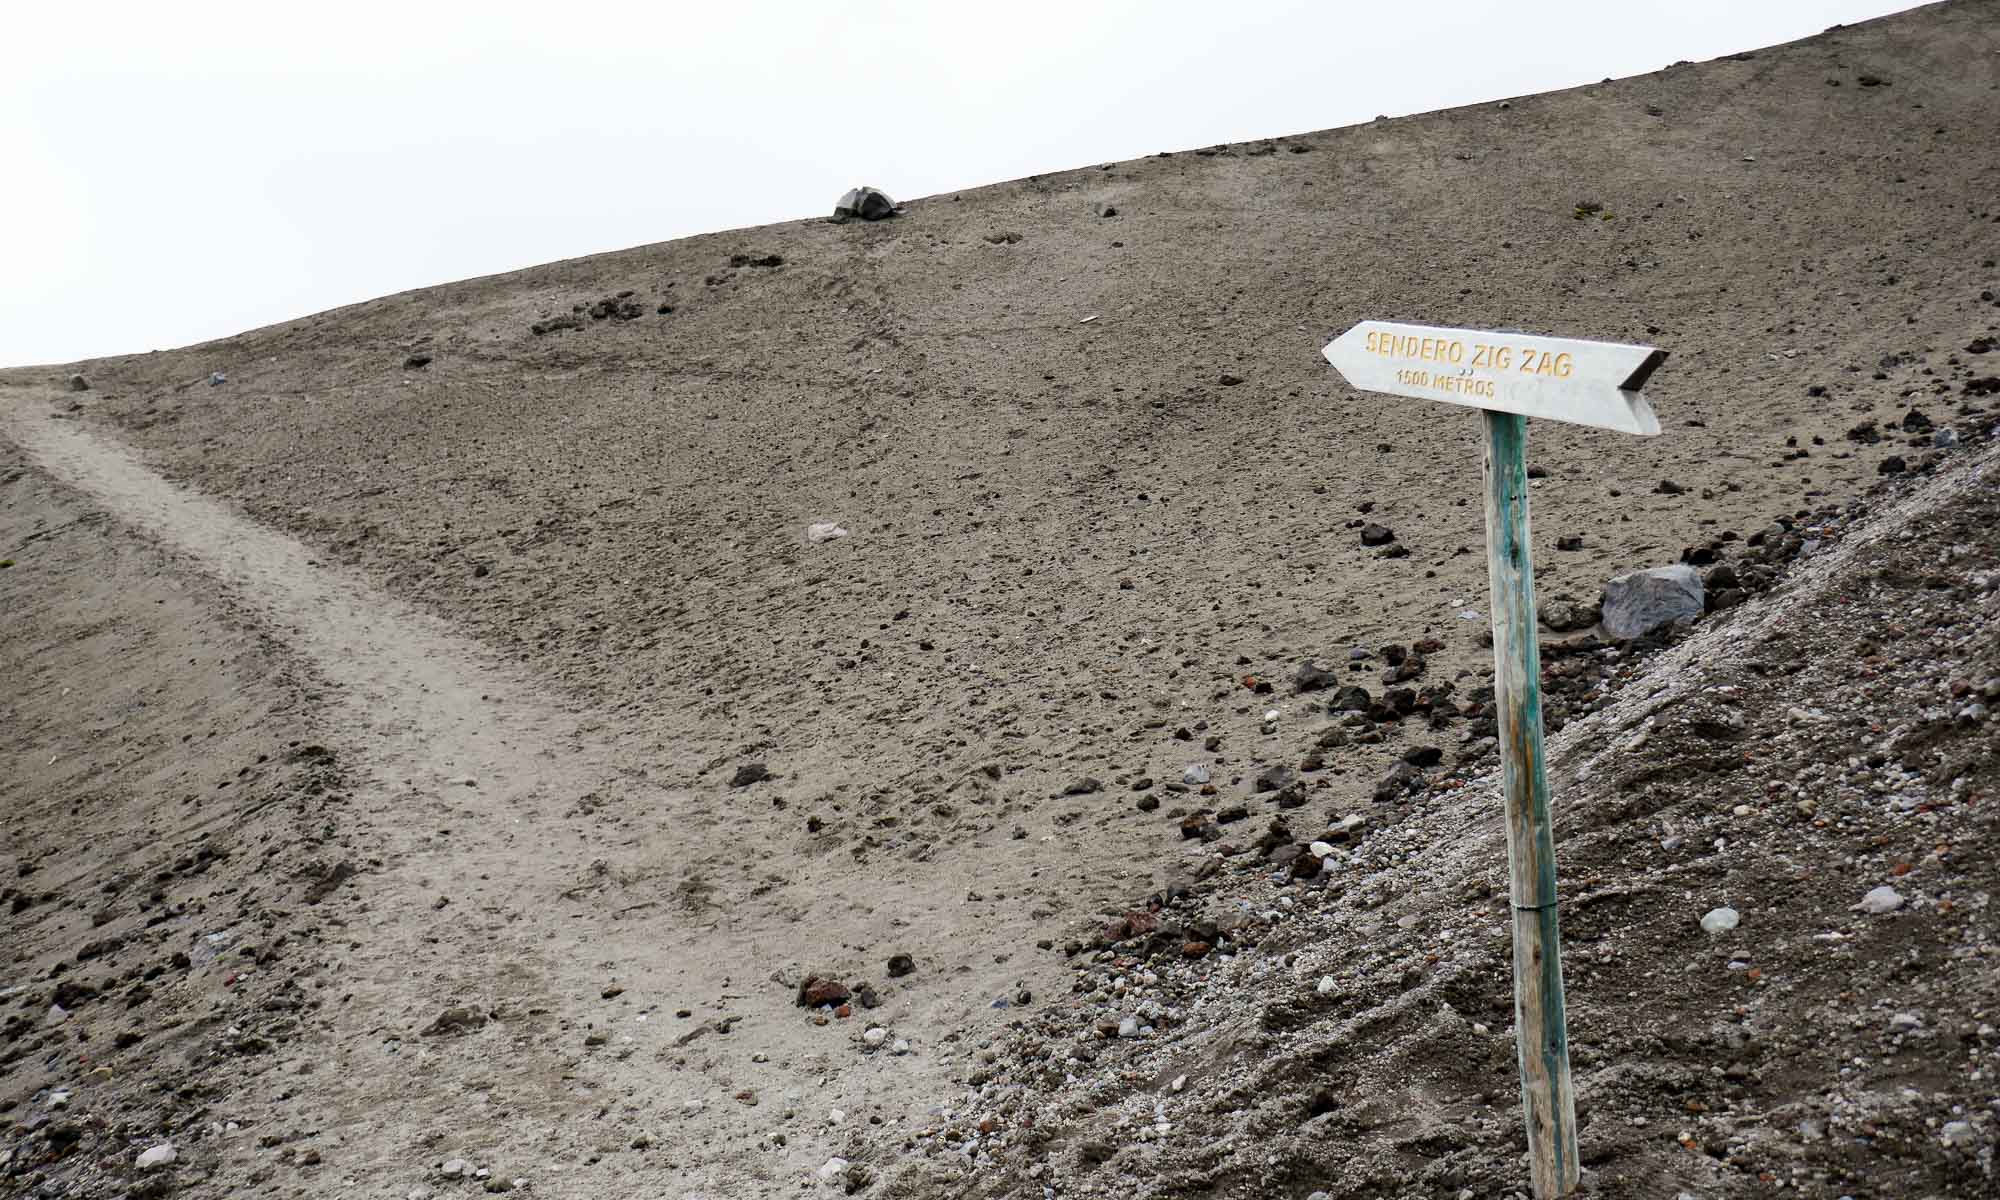
Most daytrippers hike to the Refugio at 4,864 meters (400 meters from the parking lot), and the glacier. Other intrepid hikers, join a tour with the aim to climb through the night to the summit at 5,897 meters.
We opted for the hike to the Refugio, which despite using the zig-zag route, with the altitude, was still quite a challenge and took us roughly about an hour, with several stops along the way. Once we arrived at the Refugio, we made the executive decision not to continue further to the glacier, seeing as we (or rather I) started exhibiting some altitude sickness symptoms (i.e. coughing) and the path to the glacier appeared to be a steep incline!
Useful information
- Entrance to Cotopaxi National Park is free, though all visitors are required to sign in.
- A guide is not needed to hike to the Refugio or the glacier. Guides are only needed to hike to the summit.
- A 4×4 is not needed to drive within the park, though it can be quite challenging, but as long as one has experience driving in such conditions, it should be manageable.
- There are two paths to the Refugio: a zig-zag route, and a route that is via a steep incline.
- When we went no food was sold at the Refugio, and the toilets (banos) were actually closed!
- While we decided not to hike to the glacier, we actually wish we had persevered after we learnt just how close we were. The glacier is only about a 20 minute hike from the Refugio.
Latacunga
Latacunga is the biggest city near Cotopaxi National Park, and the place with the most accommodation options. We had booked our hotel in Latacunga several months before our visit, but were notified about 2 weeks before our arrival that the hotel was no longer available. Fortunately, since we had booked through Booking.com, they were obligated to find us replacement accommodation. This led us to Villa de Tacvnga, a remodeled 18th century building located not far from the cathedral.
Second leg – Latacunga to Guayaquil
Banos
We had heard so much about Banos before our trip, that we were really looking forward to our 2 nights in the town. Banos is known for its thermal springs, waterfalls, adventure sports, and the Swing at the end of the world (Casa de Arbol)!
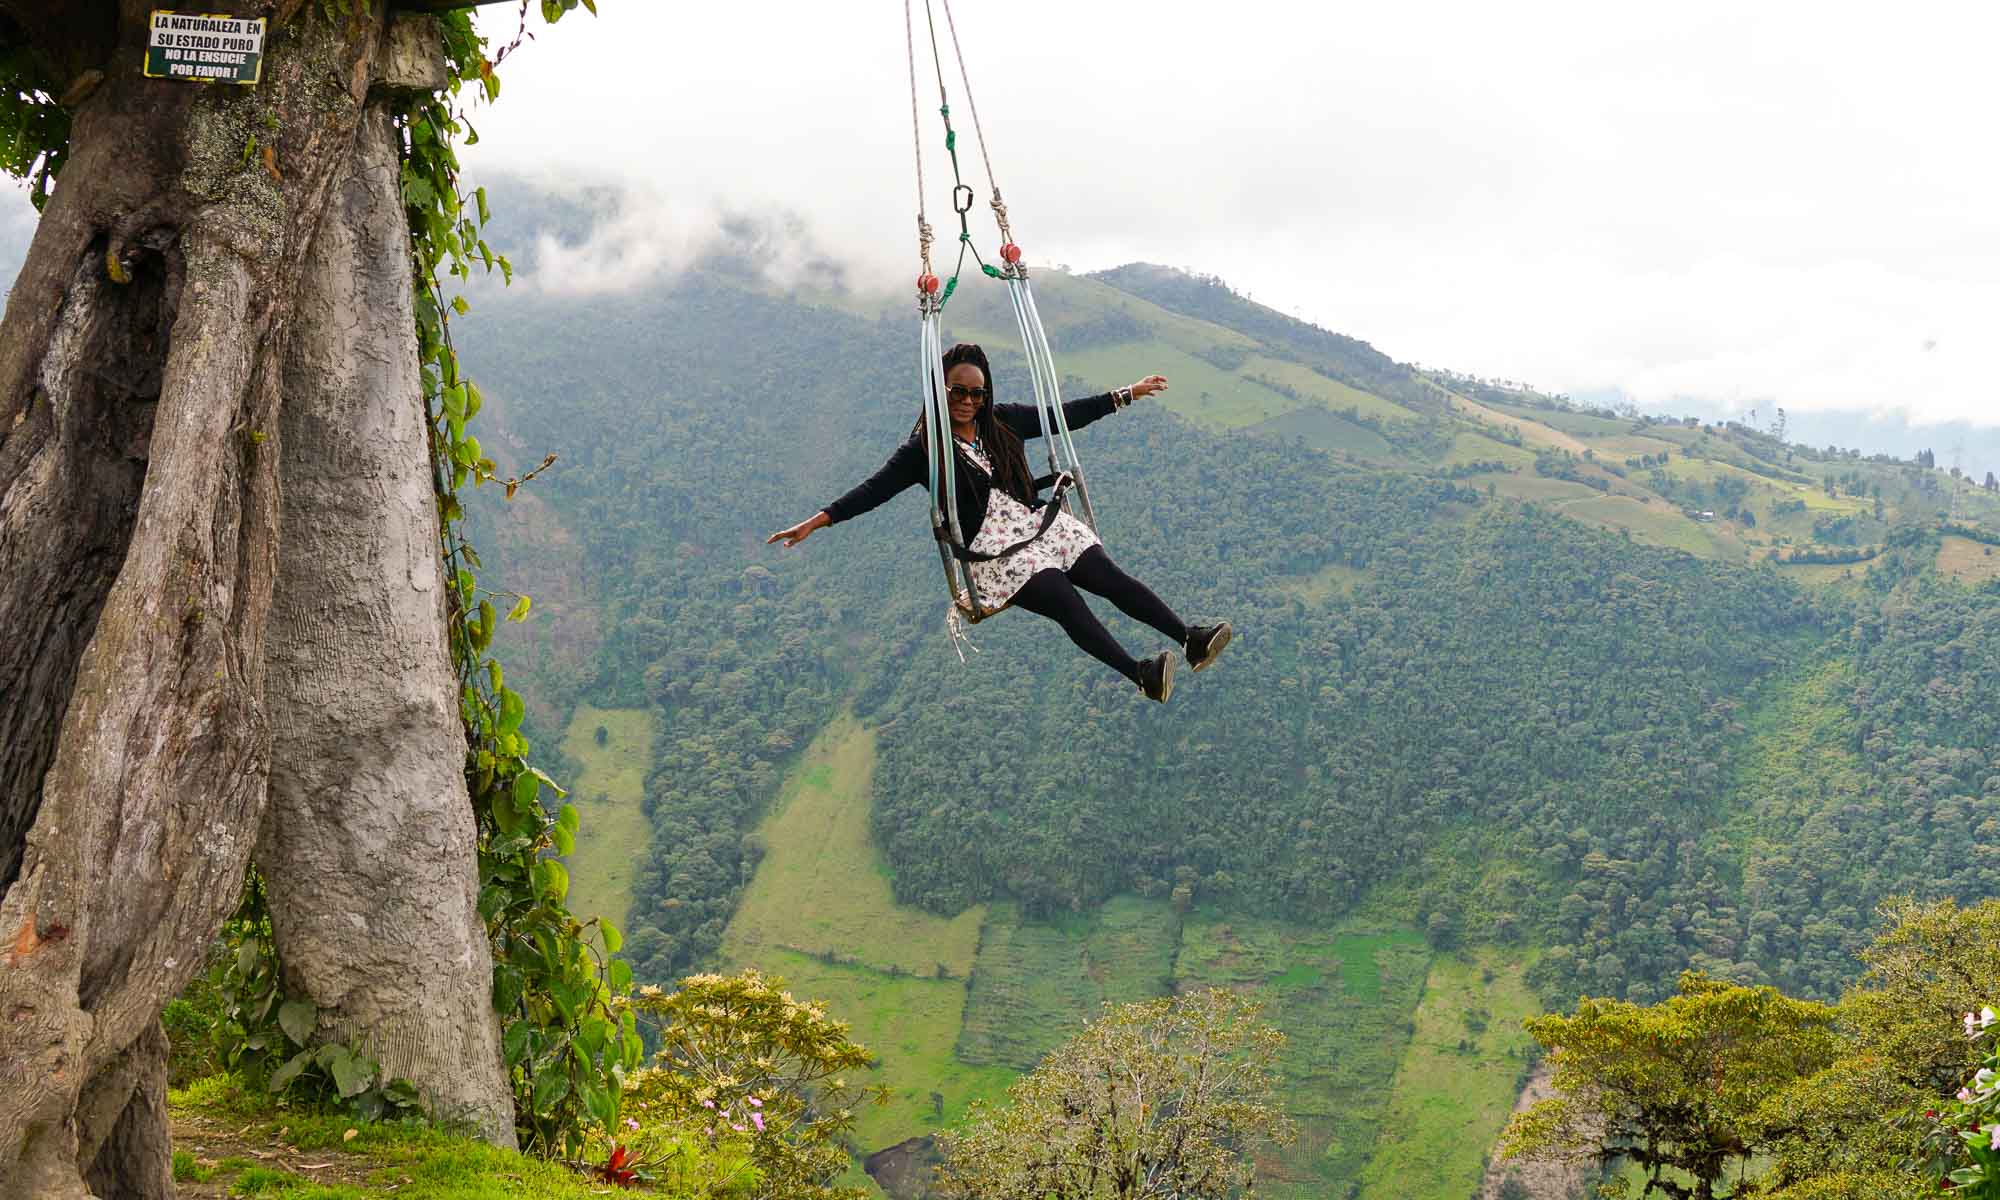
Casa de Arbol
Built on the edge of a mountain overlooking the Tungurahua volcano, Casa de Arbol aka the Swing at the end of the World is one of the most highly rated activities in Banos. We headed up there shortly after our arrival and joined the long queue for the swing. The interesting fact is that while on the swing, you do appear to fly over a deep crevice, the angles the pictures are taken make it appear worse than it is.
Useful tips:
- There are many ways to get to the Casa de Arbol: by public bus, taxi, private car or by foot.
- To avoid the long queues its best to go late afternoon.
- There are actually three additional swings at the Casa de Arbol which have shorter queues and offer just as good views. Main difference is there is no staff to push you!
- Upon arrival at the parking spot for the Casa de Arbol, there is another swing right at the front. That is not the real Casa de Arbol. The Casa de Arbol is just a short walk uphill from there.
- And most importantly…wear trousers!
Ruta de las Cascadas
Next on our agenda, was to bike down the Ruta de las Cascadas, which we had heard was an experience not to be missed. However, after chatting to our hotel manager, he mentioned it was best to drive as most people that chose to bike do so instead of taking the bus. So we decided to drive instead.
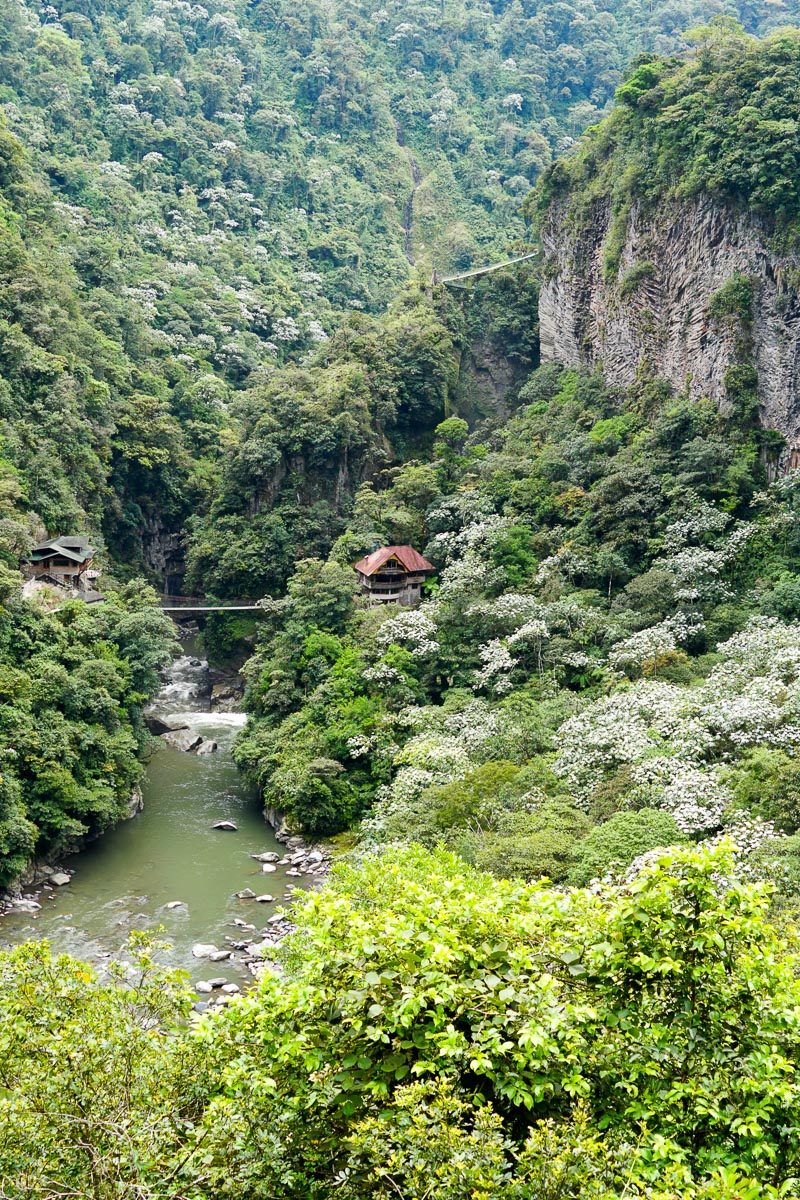
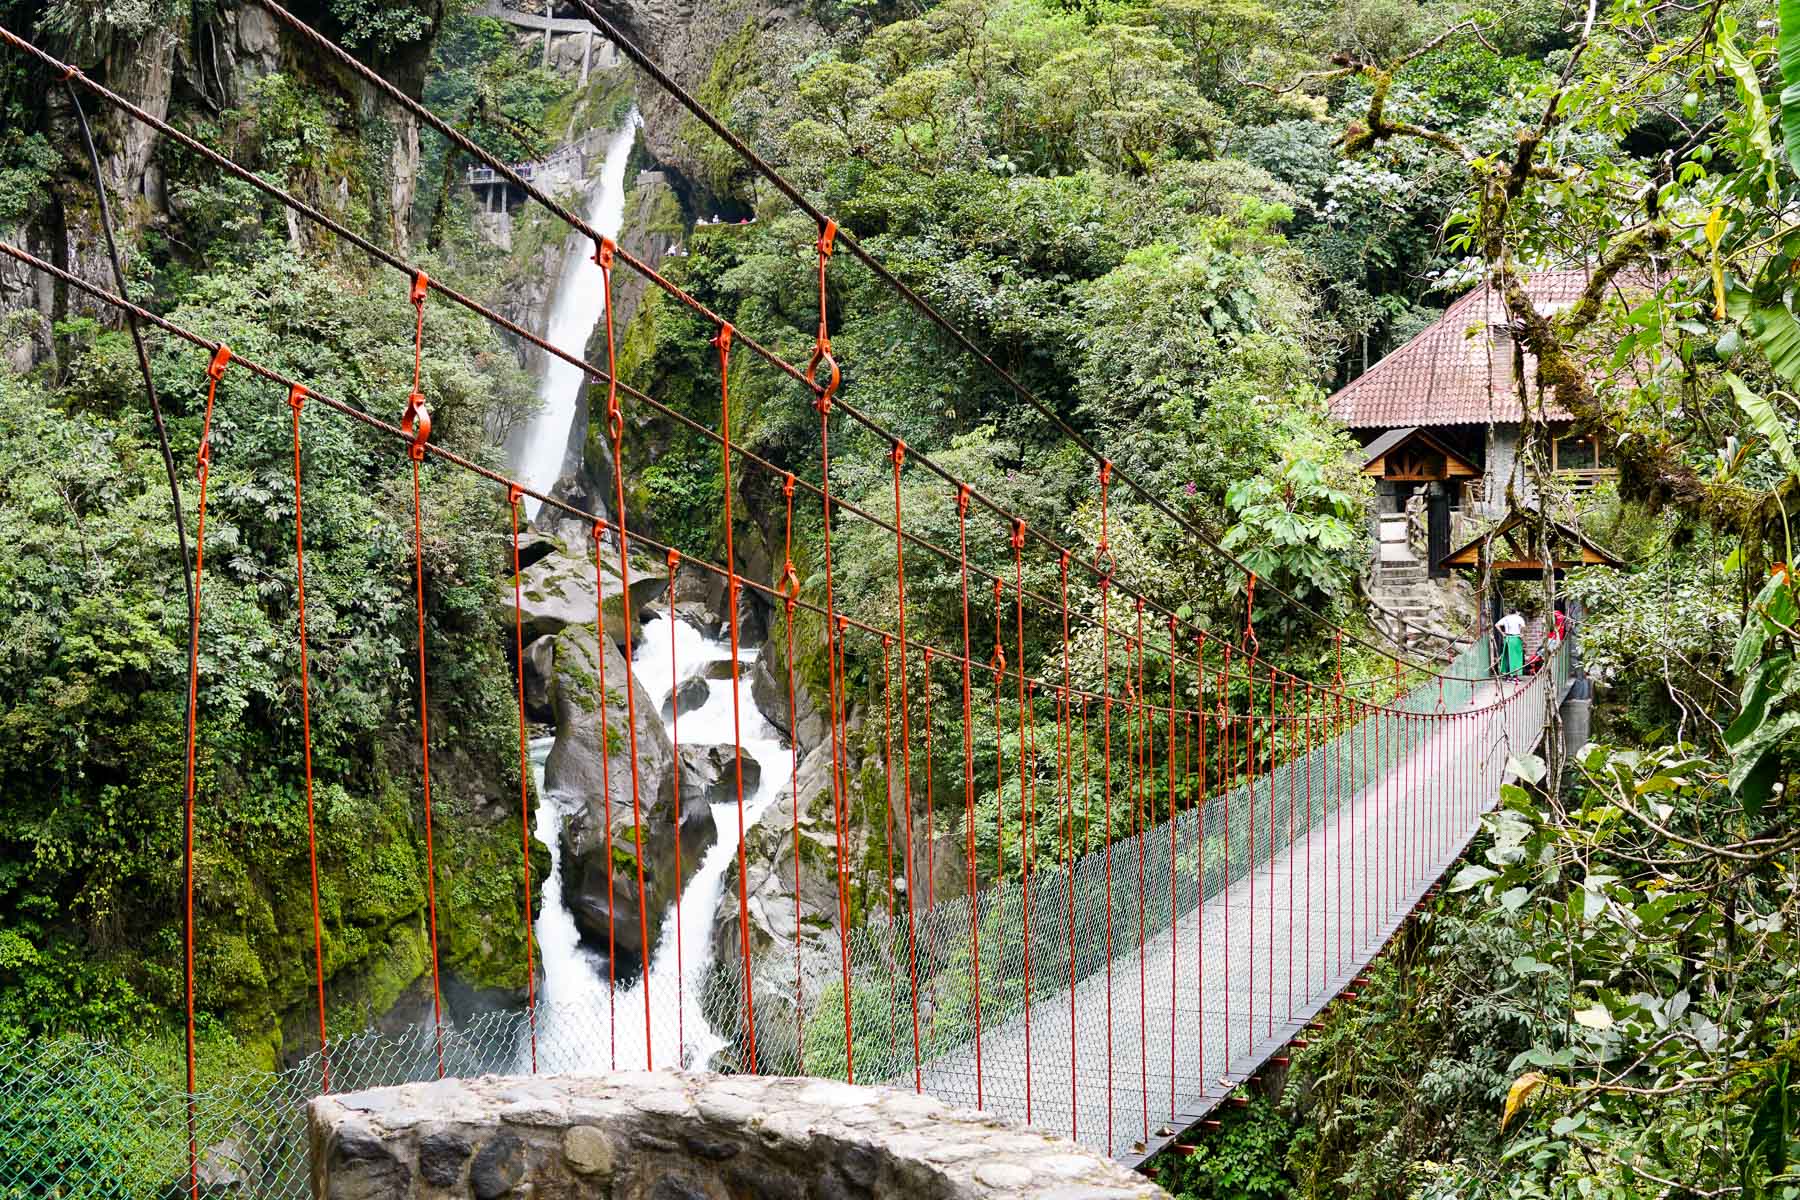
The Ruta de las Cascadas covers approximately 60 kilometres on the main road between Banos and Puyo and is lined with picturesque views and at least 7 waterfalls. After some research, we decided that since we have seen the waterfalls of all waterfalls (Iguazu falls) and hardly get impressed with waterfalls, to head straight to Paillon del Diablo. We were not disappointed! We stopped at Cascada el Manto de la Novia on the way back, which honestly at the time we visited resembled more of a trickle, but it was fun to watch a number of people zipline across the valley to the falls.
All-in-all, while we were not greatly impressed with Banos, it is a nice enough place to go and experience more of what Ecuador has to offer.
Useful information
- Access to Paillion del Diablo is via a hiking path that leads for about 20 minutes downhill.
- The waterfall can be viewed at a platform almost at the foot of the falls or after at the midpoint after a tight scramble through a tunnel.
- Access to the top of the falls is via a different entrance located about 5 minutes drive away.
- Entrance to the falls is $2 per person.
Alausi
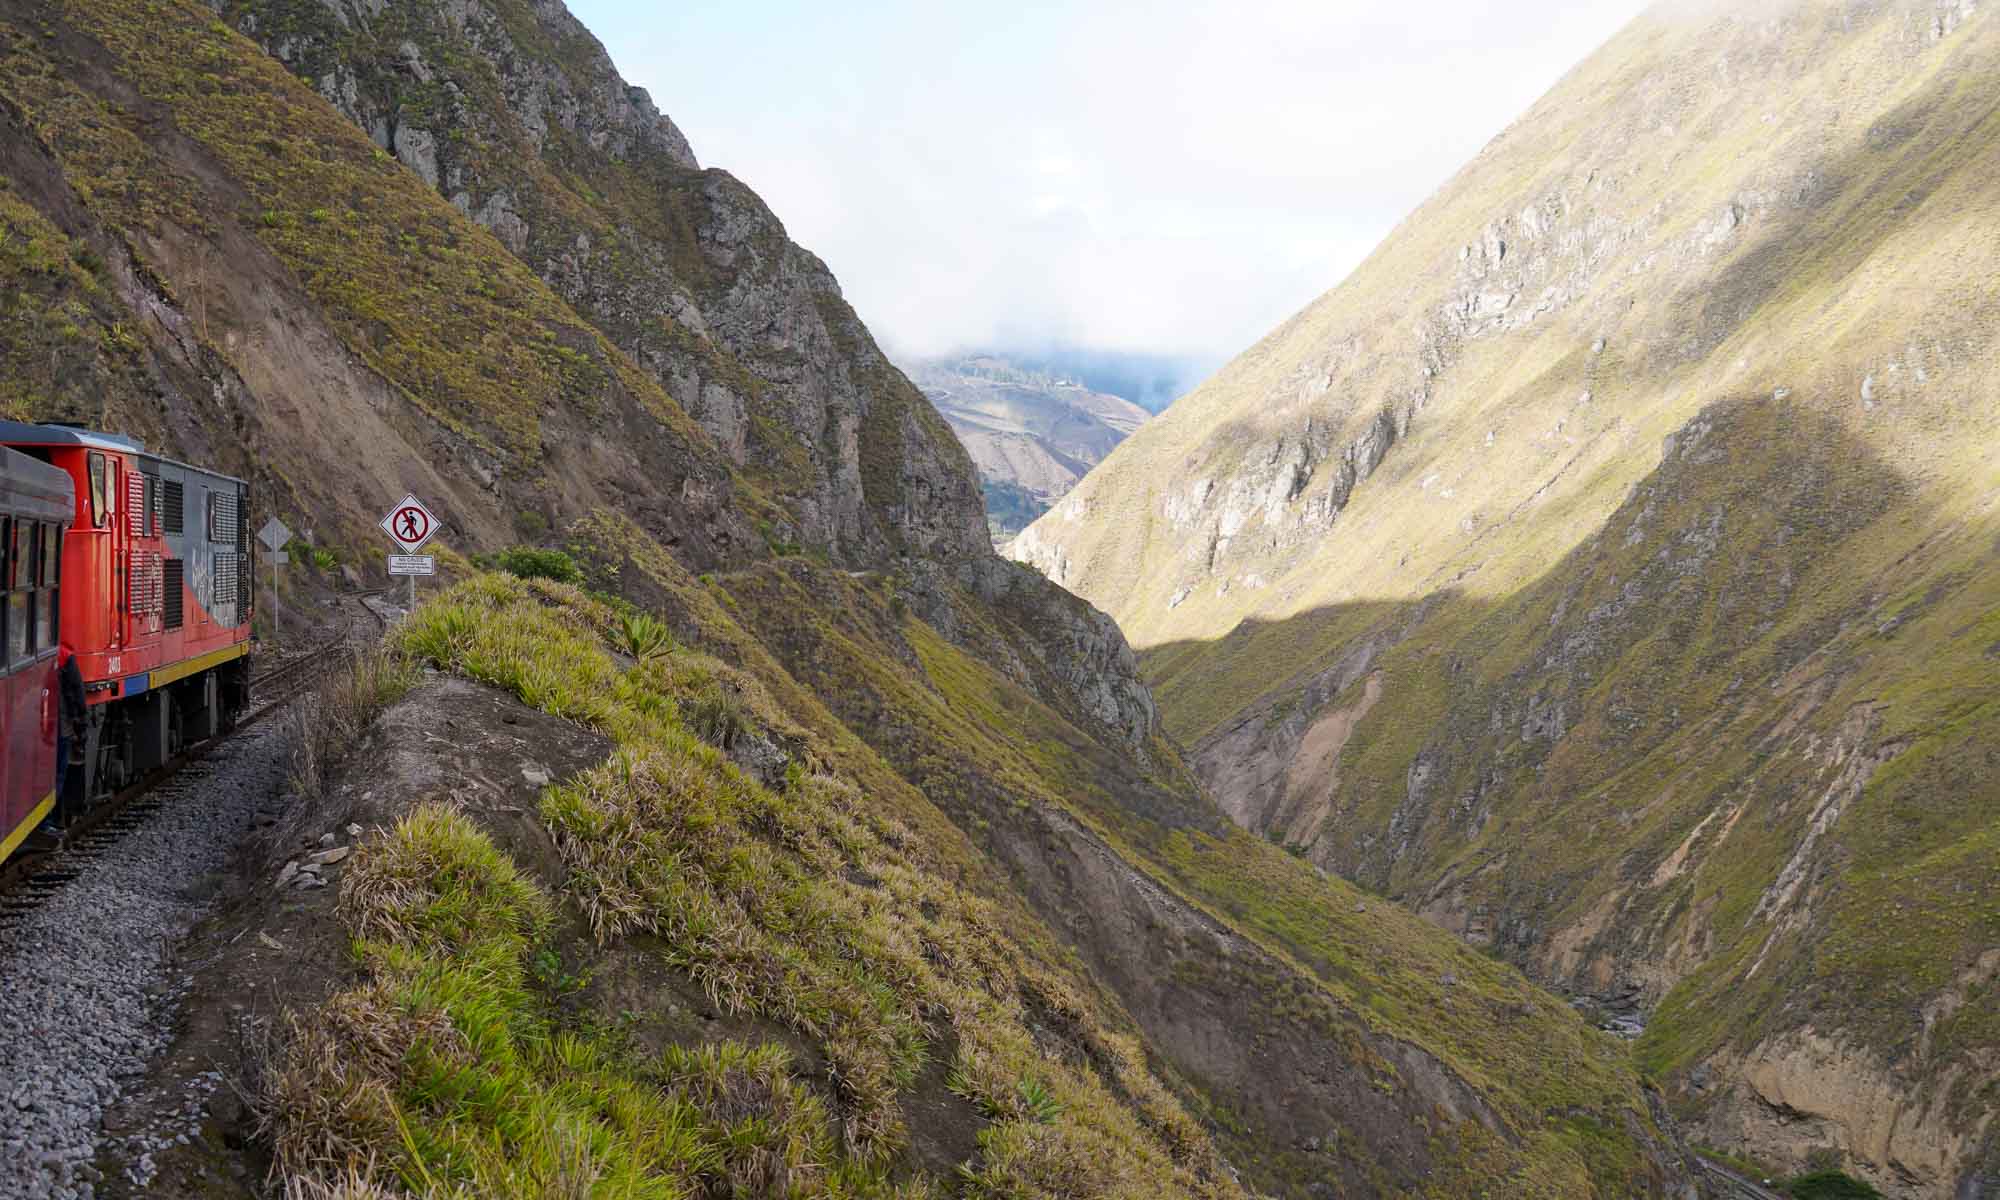
Three hours from Banos is Alausi, the starting point for the Devils Nose train. The Devils Nose is a section of the train route between Quito and Guayaquil that covers a rocky section of the Andes mountains. The name originates from the fact that the development of the track was extremely difficult and resulted in quite a few of the Jamaican and Puerto Rican workers being killed. The track drops over 500 meters over a course of 12 kilometers, and includes a number of switchbacks.
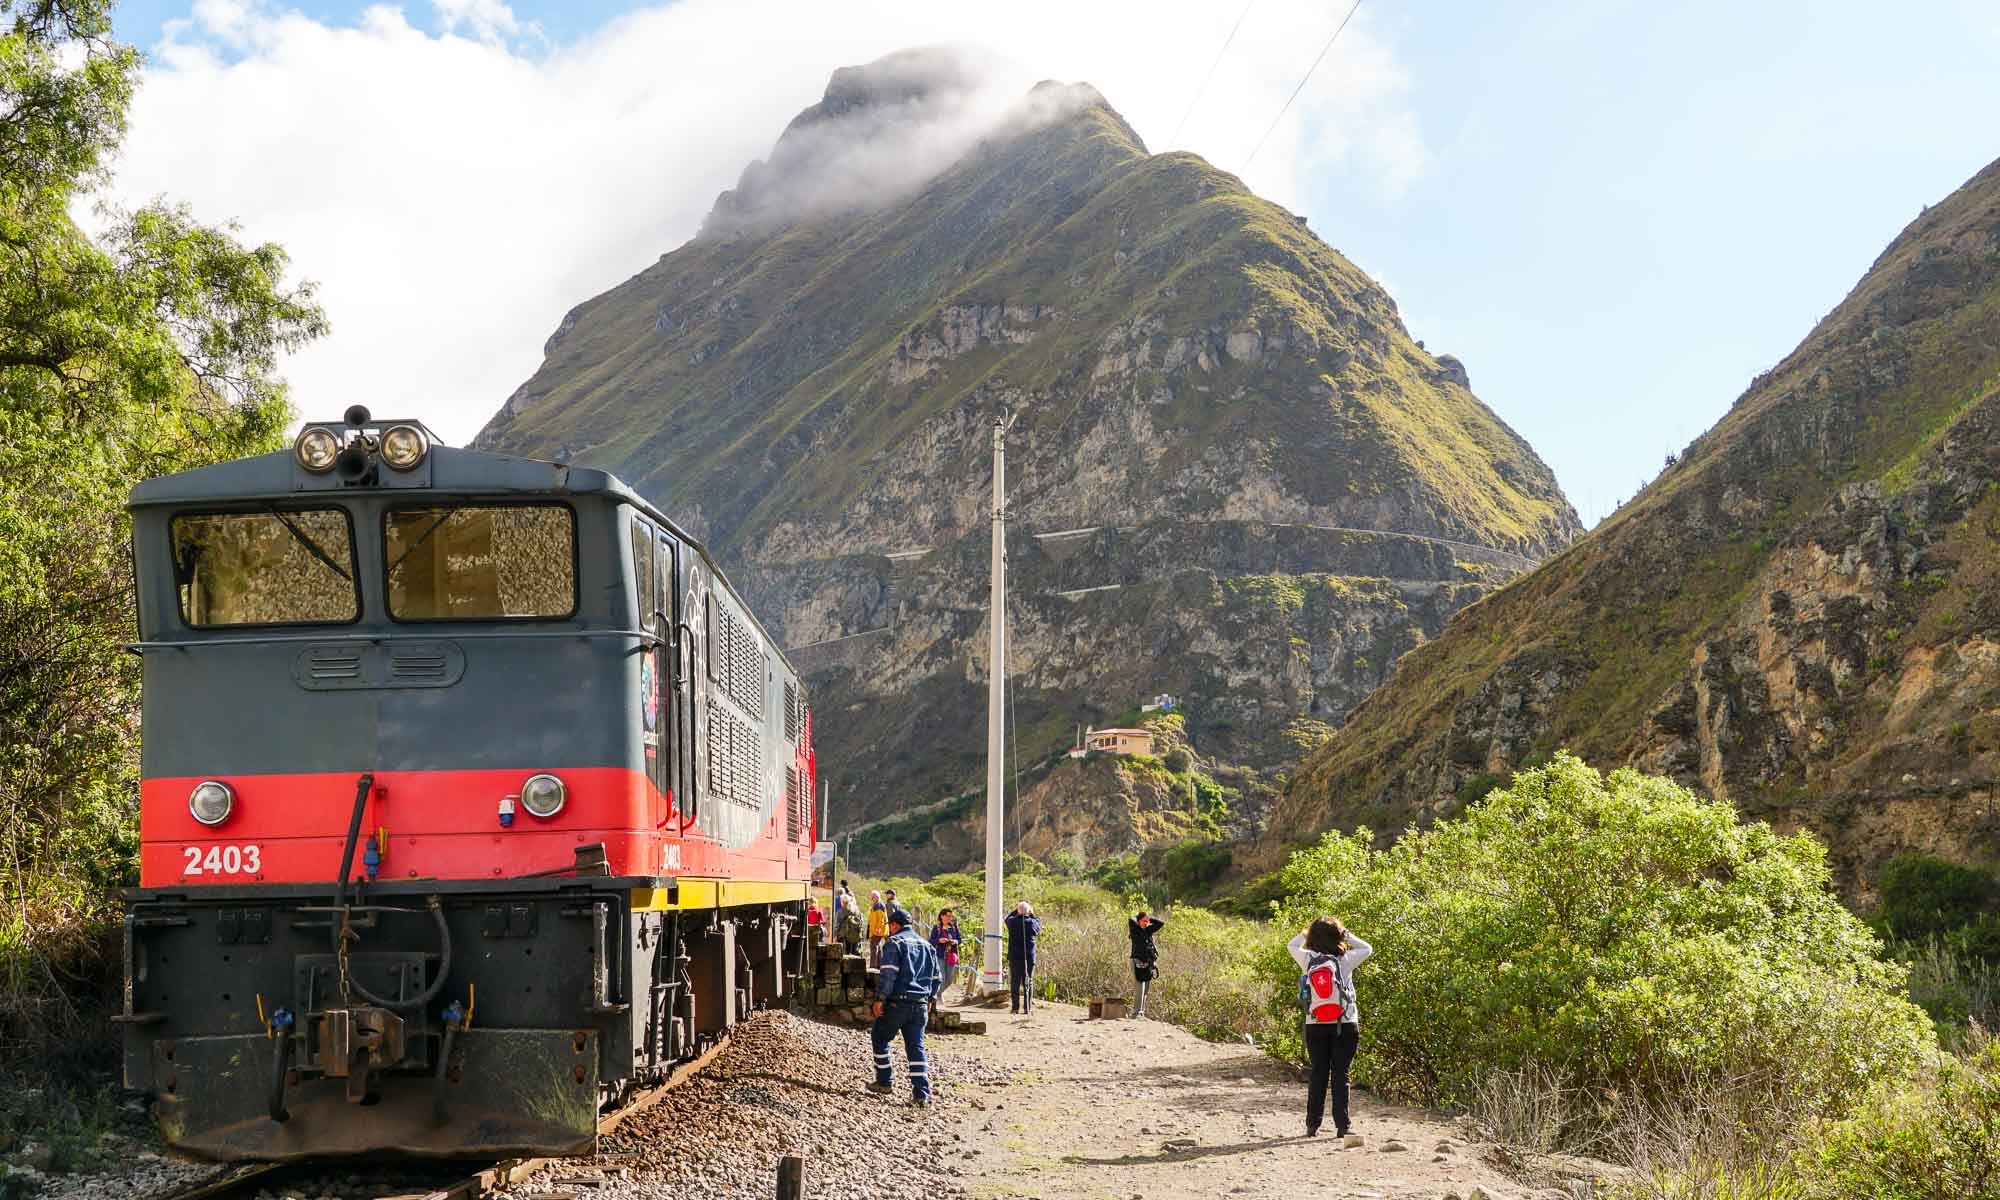
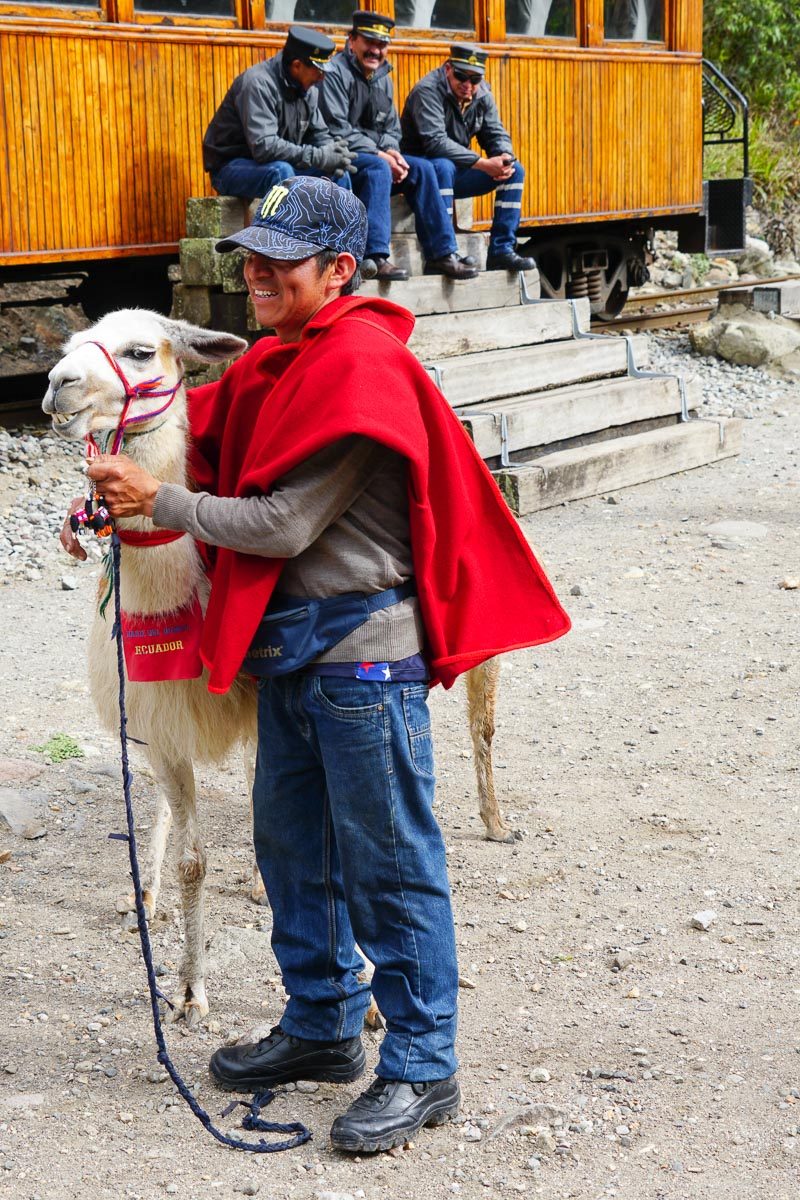
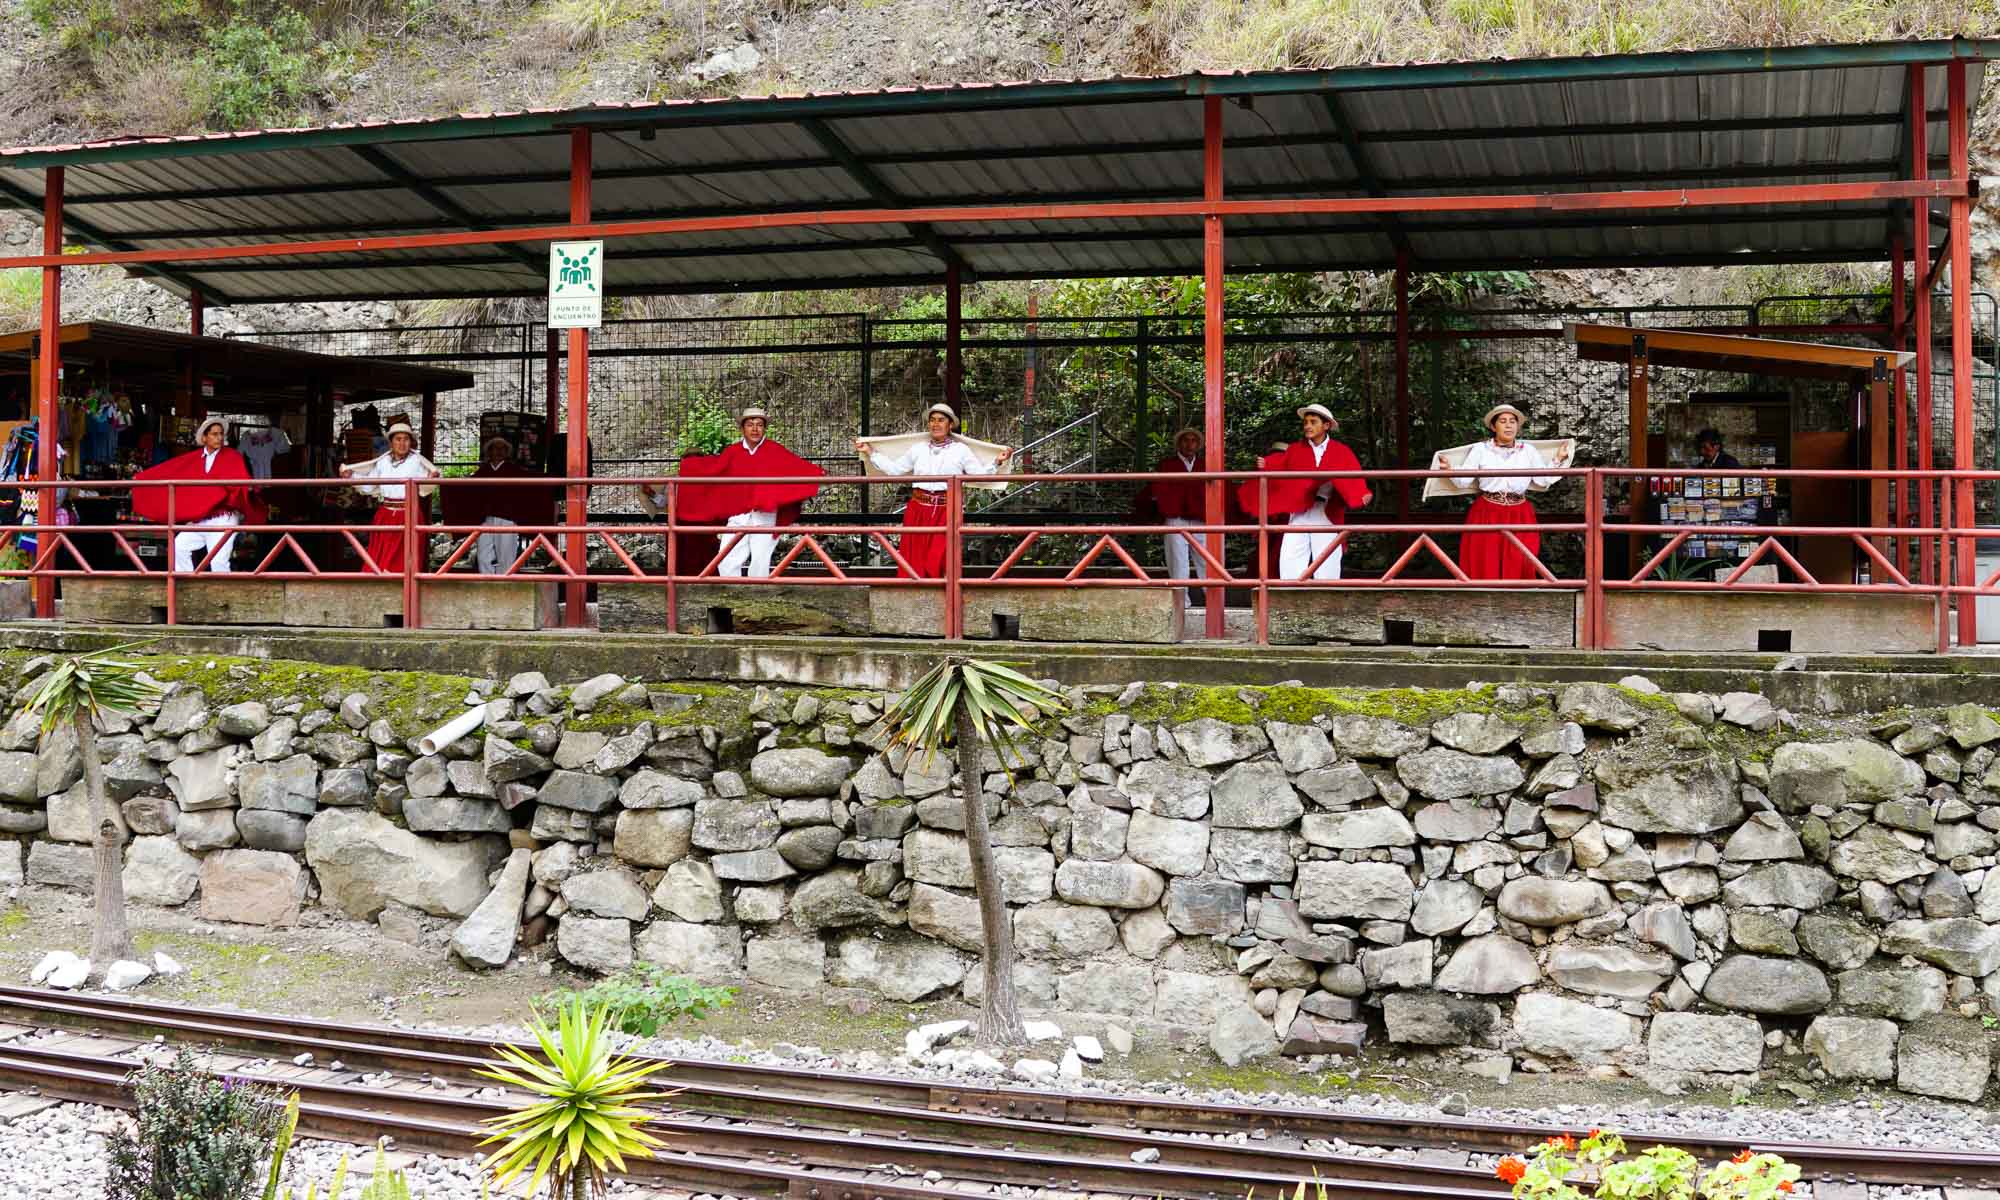
We took the 8:00 am train with the hopes of having clear views of the mountains and the valley, and were pleased that we were actually on the “right” side for the best views. The train makes two stops before its return to Alausi: the first a picture stop with the mountains in the background and some llama’s, and the second at Simbambe station, where locals are waiting to give you details about their lives, perform a traditional dance and sell various hand-made items. After about an hour (which was actually too long a stop!) the train climbed back up the mountain to Alausi. While the history behind the train and the rail tracks are quite impressive, to be honest the whole program is geared at tourists and is quite a tourist trap. Just to be clear: the train inches its way down the mountain and nothing about the ride is hair-raising or death-defying; the views from the train while spectacular are similar to those you get while driving.
Regardless, the train ride was fun and all the staff were extremely friendly and helpful.
Useful information
- The best place to stay to take the Devils Nose train is Alausi. This is important so that one can take the early train.
- There are trains that leave at 8:00 or 11:00, but since it does wind through the Andes mountains, visibility is usually best early in the morning.
- Tickets can be bought either online or at the train station. We bought our tickets online several months before, but noticed a few tourists purchasing tickets at the station as there was still availability.
- Make sure to purchase tickets for the (A)byss side and not the (M)ountain side.
- The whole tour takes approximately 2 and a half hours.
- Bring snacks and water, as things sold at the end station are quite expensive.
- The tour currently costs $33 per person.
Cuenca
Cuenca was a pleasant surprise. We had not done much if any research on Cuenca, and basically just planned it as an overnight stop on our road trip, which would enable us to hike through El Cajas National Park. As soon as we drove into Cuenca, with its perfect blend of old and new, we started wondering if we had somehow driven across the Atlantic and ended up in Spain. Located about 2,500 meters above sea level, the city is surrounded by mountains as far as the eye can see and has four different rivers flowing through it.
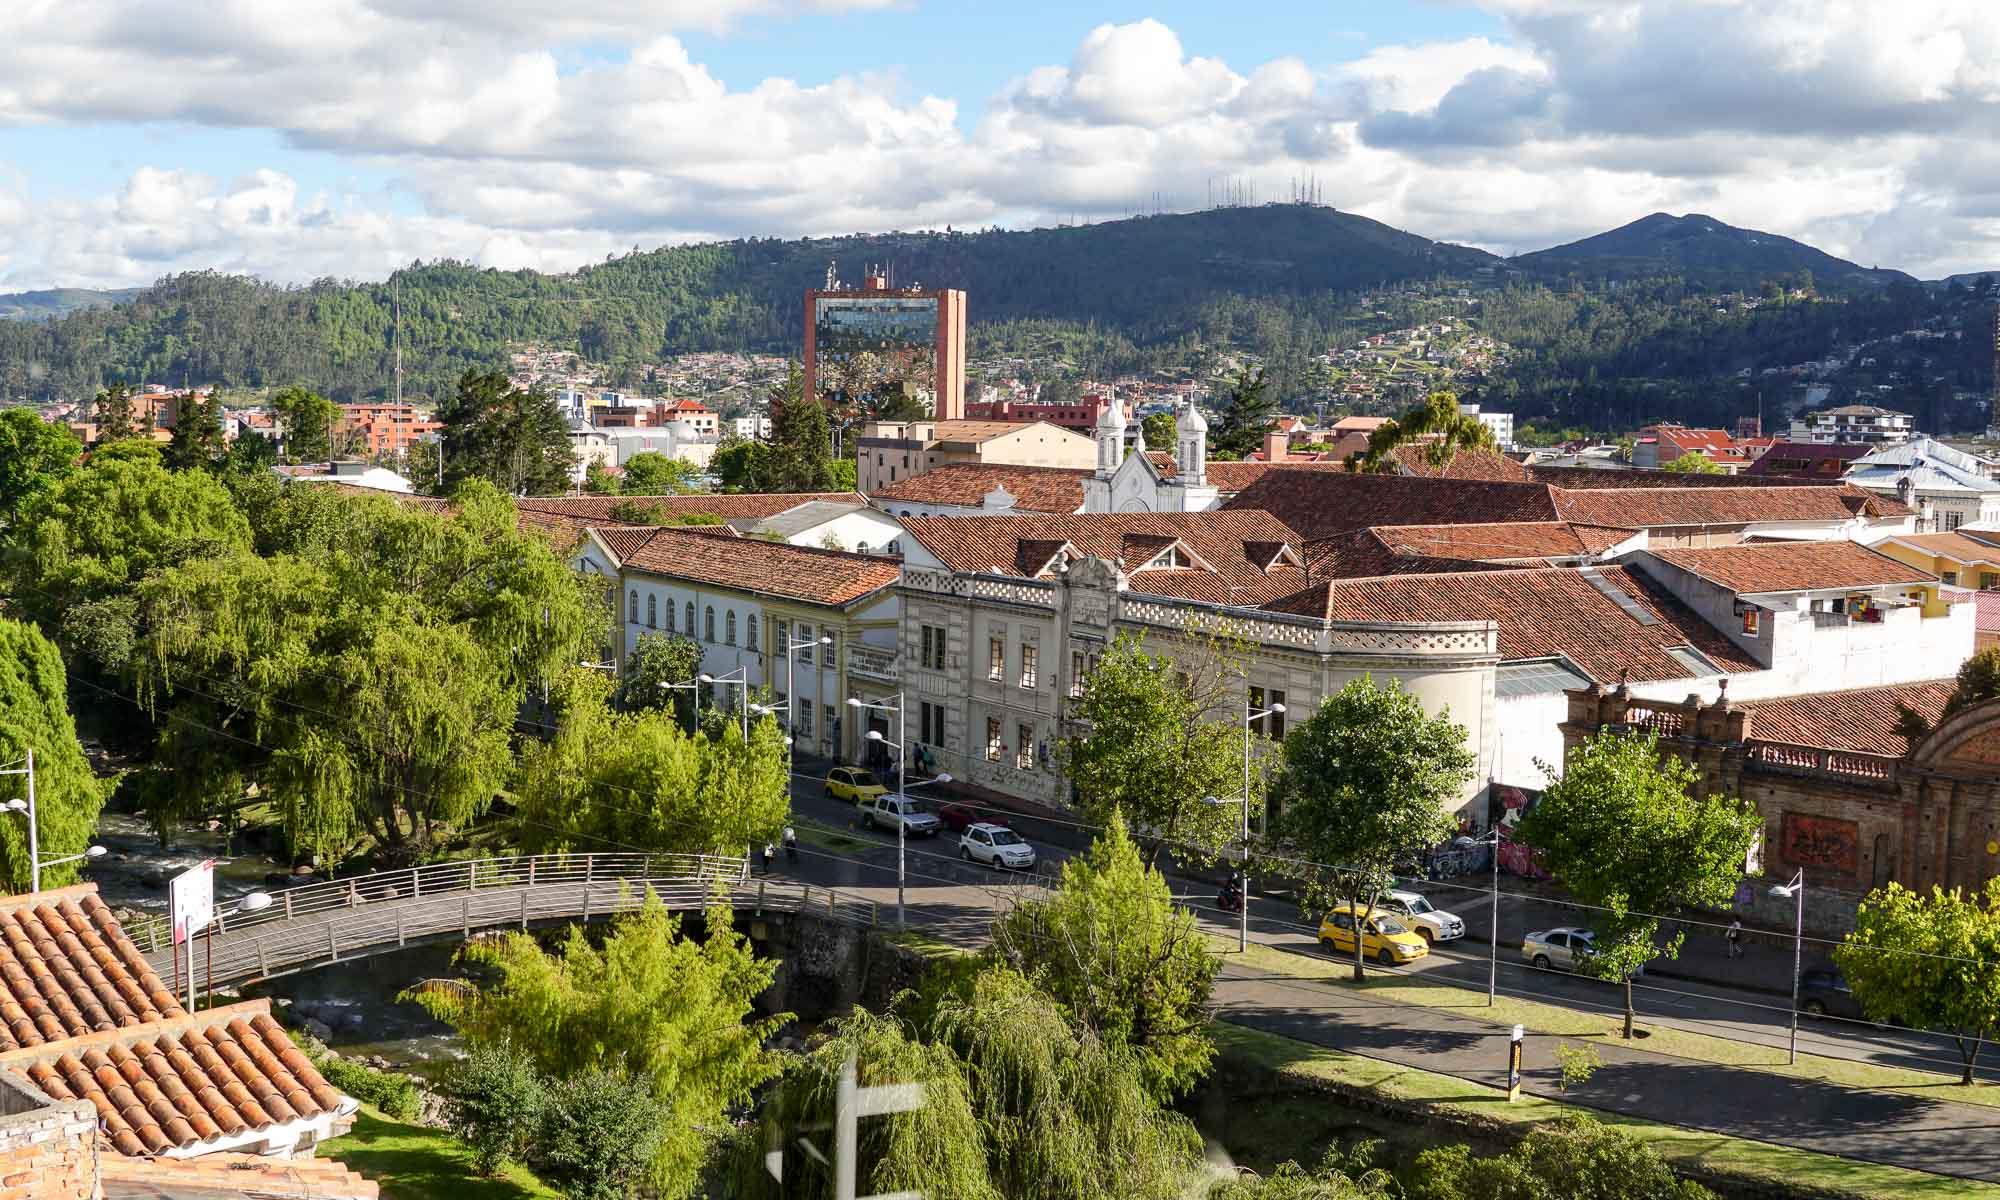
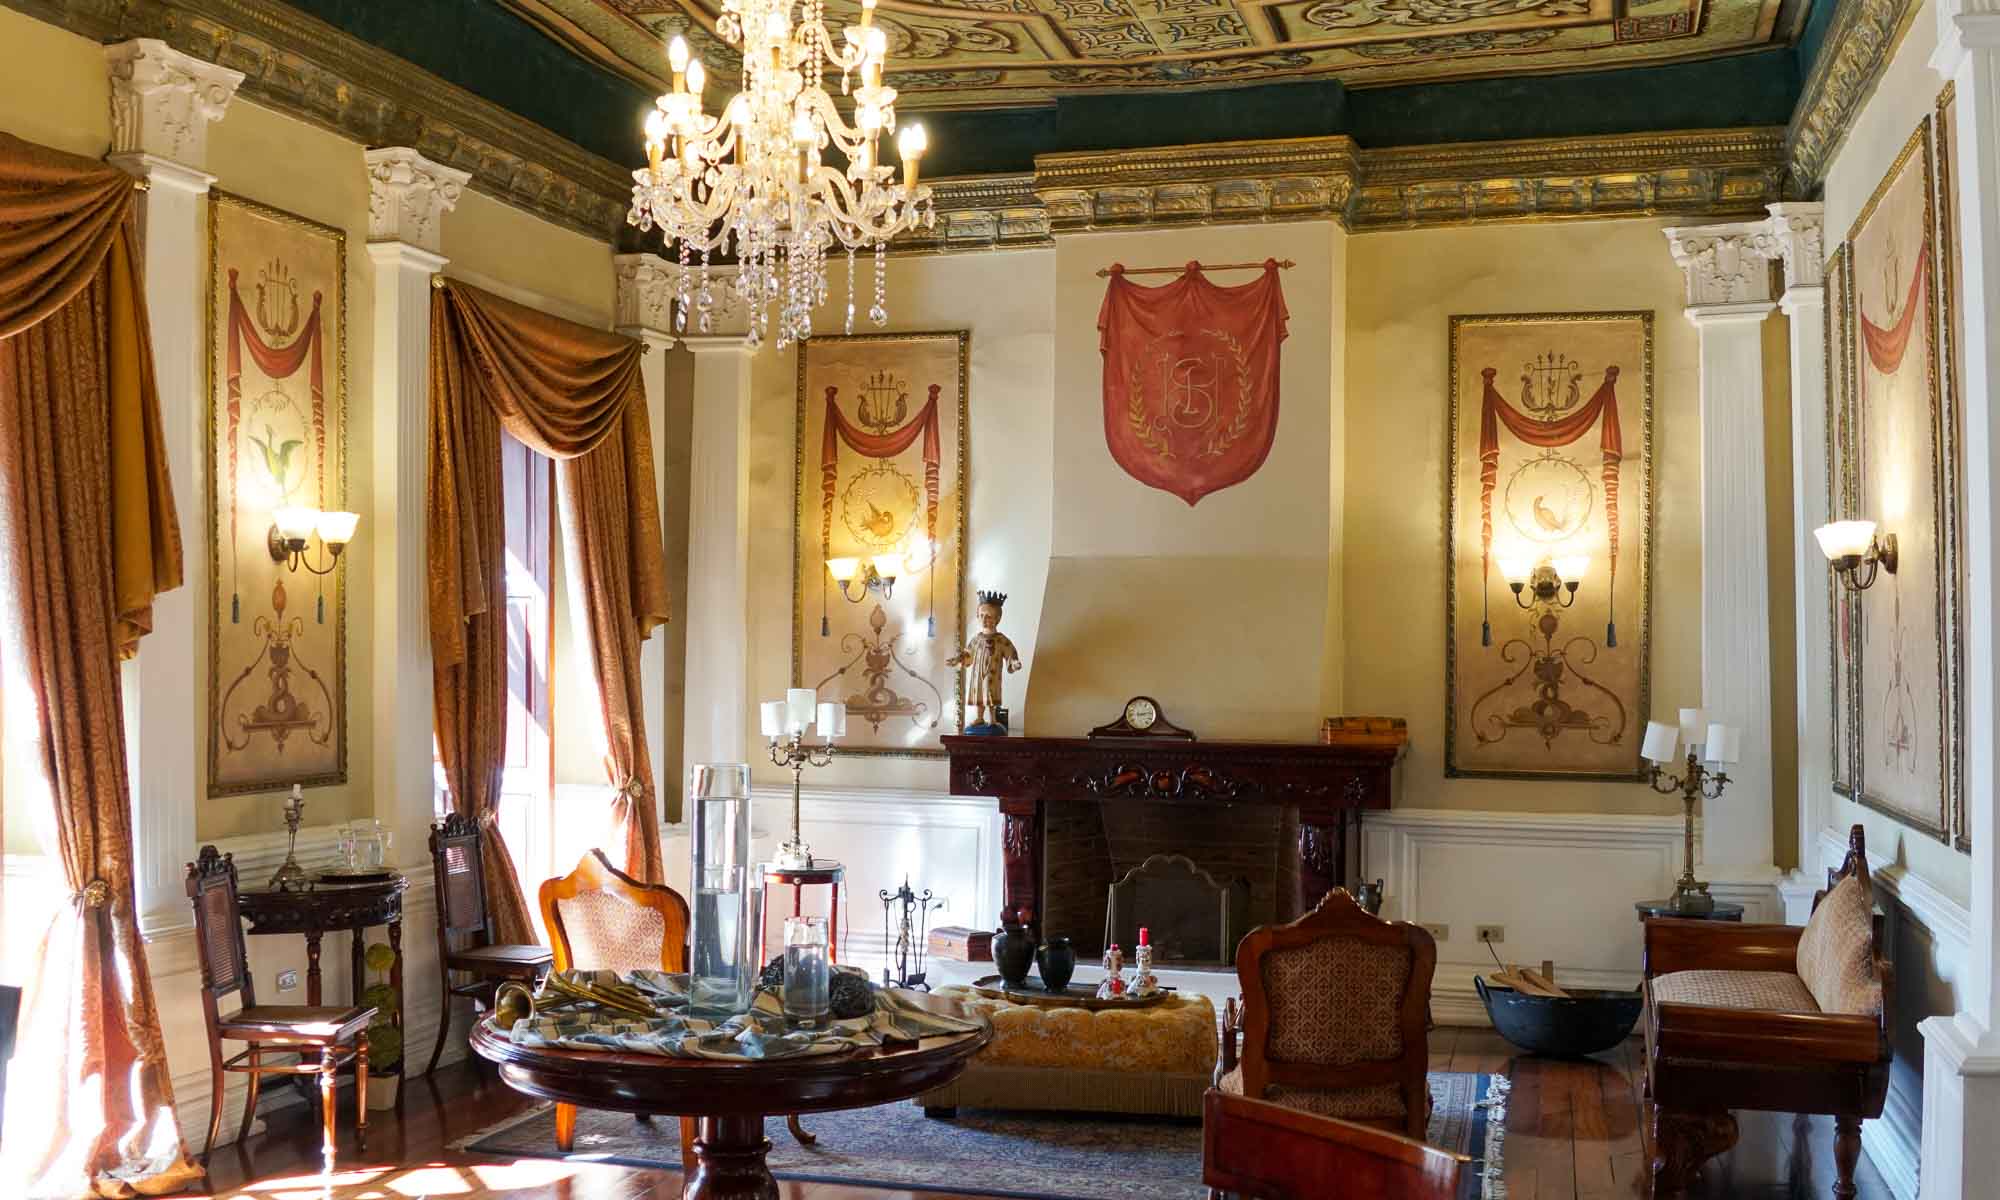
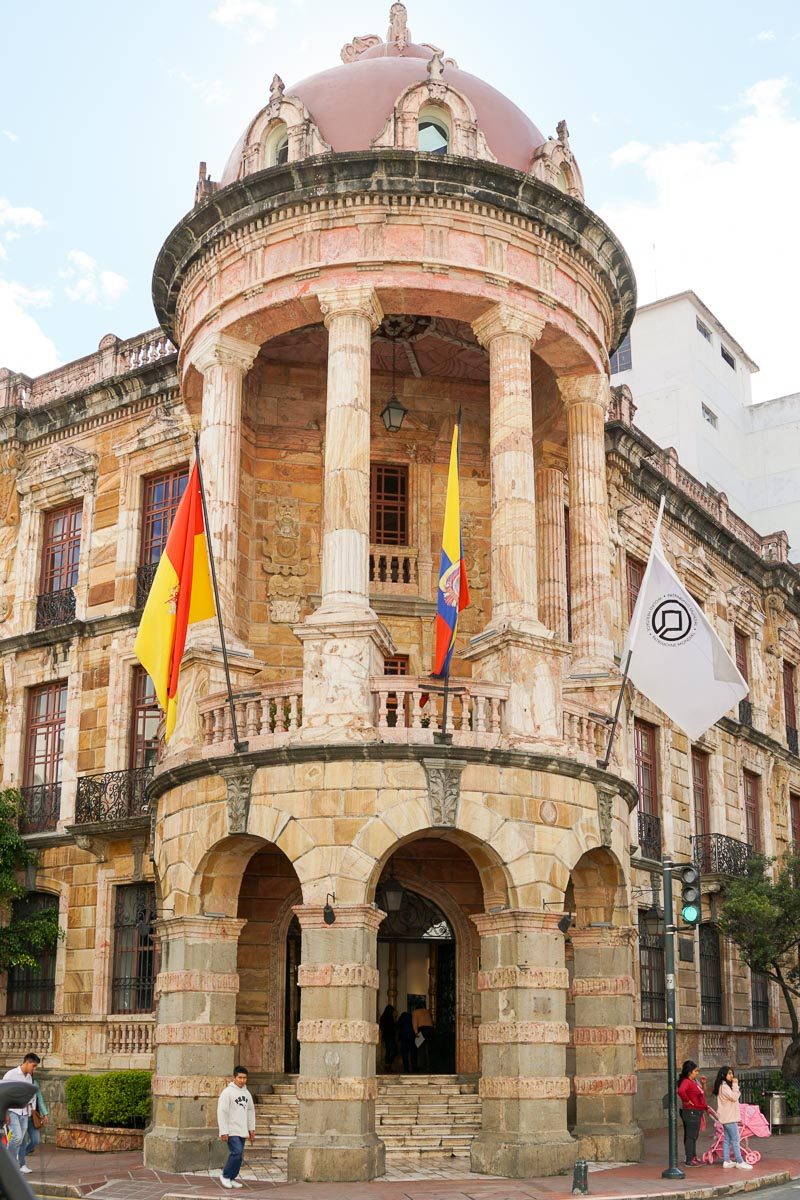
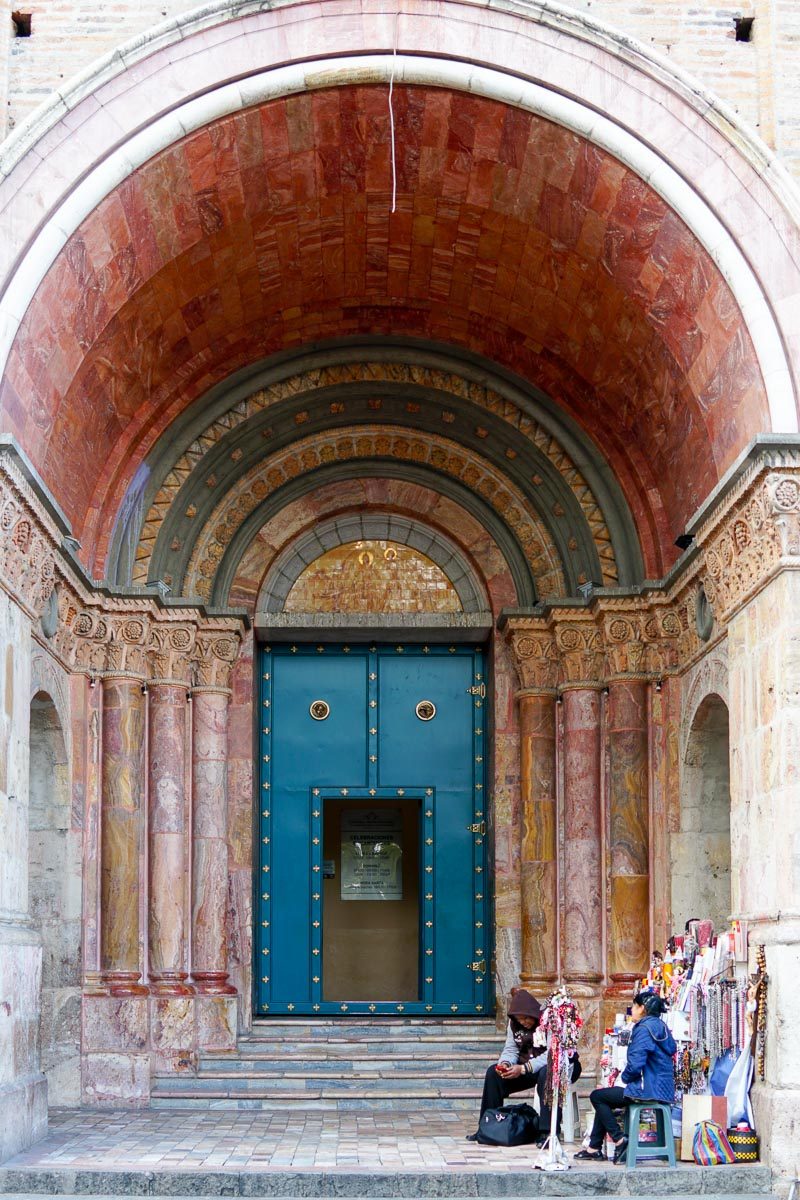
With only a night in the city, we made the most of it, by walking through the various streets surrounding our hotel, Hotel Boutique Santa Lucia. Within a few minutes, we ended up at the main square, which is a UNESCO world heritage site and were awed by the quantity of well-maintained, picturesque buildings on all corners.

The time we had in Cuenca was just too short, and we will definitely be returning for a much longer stay.
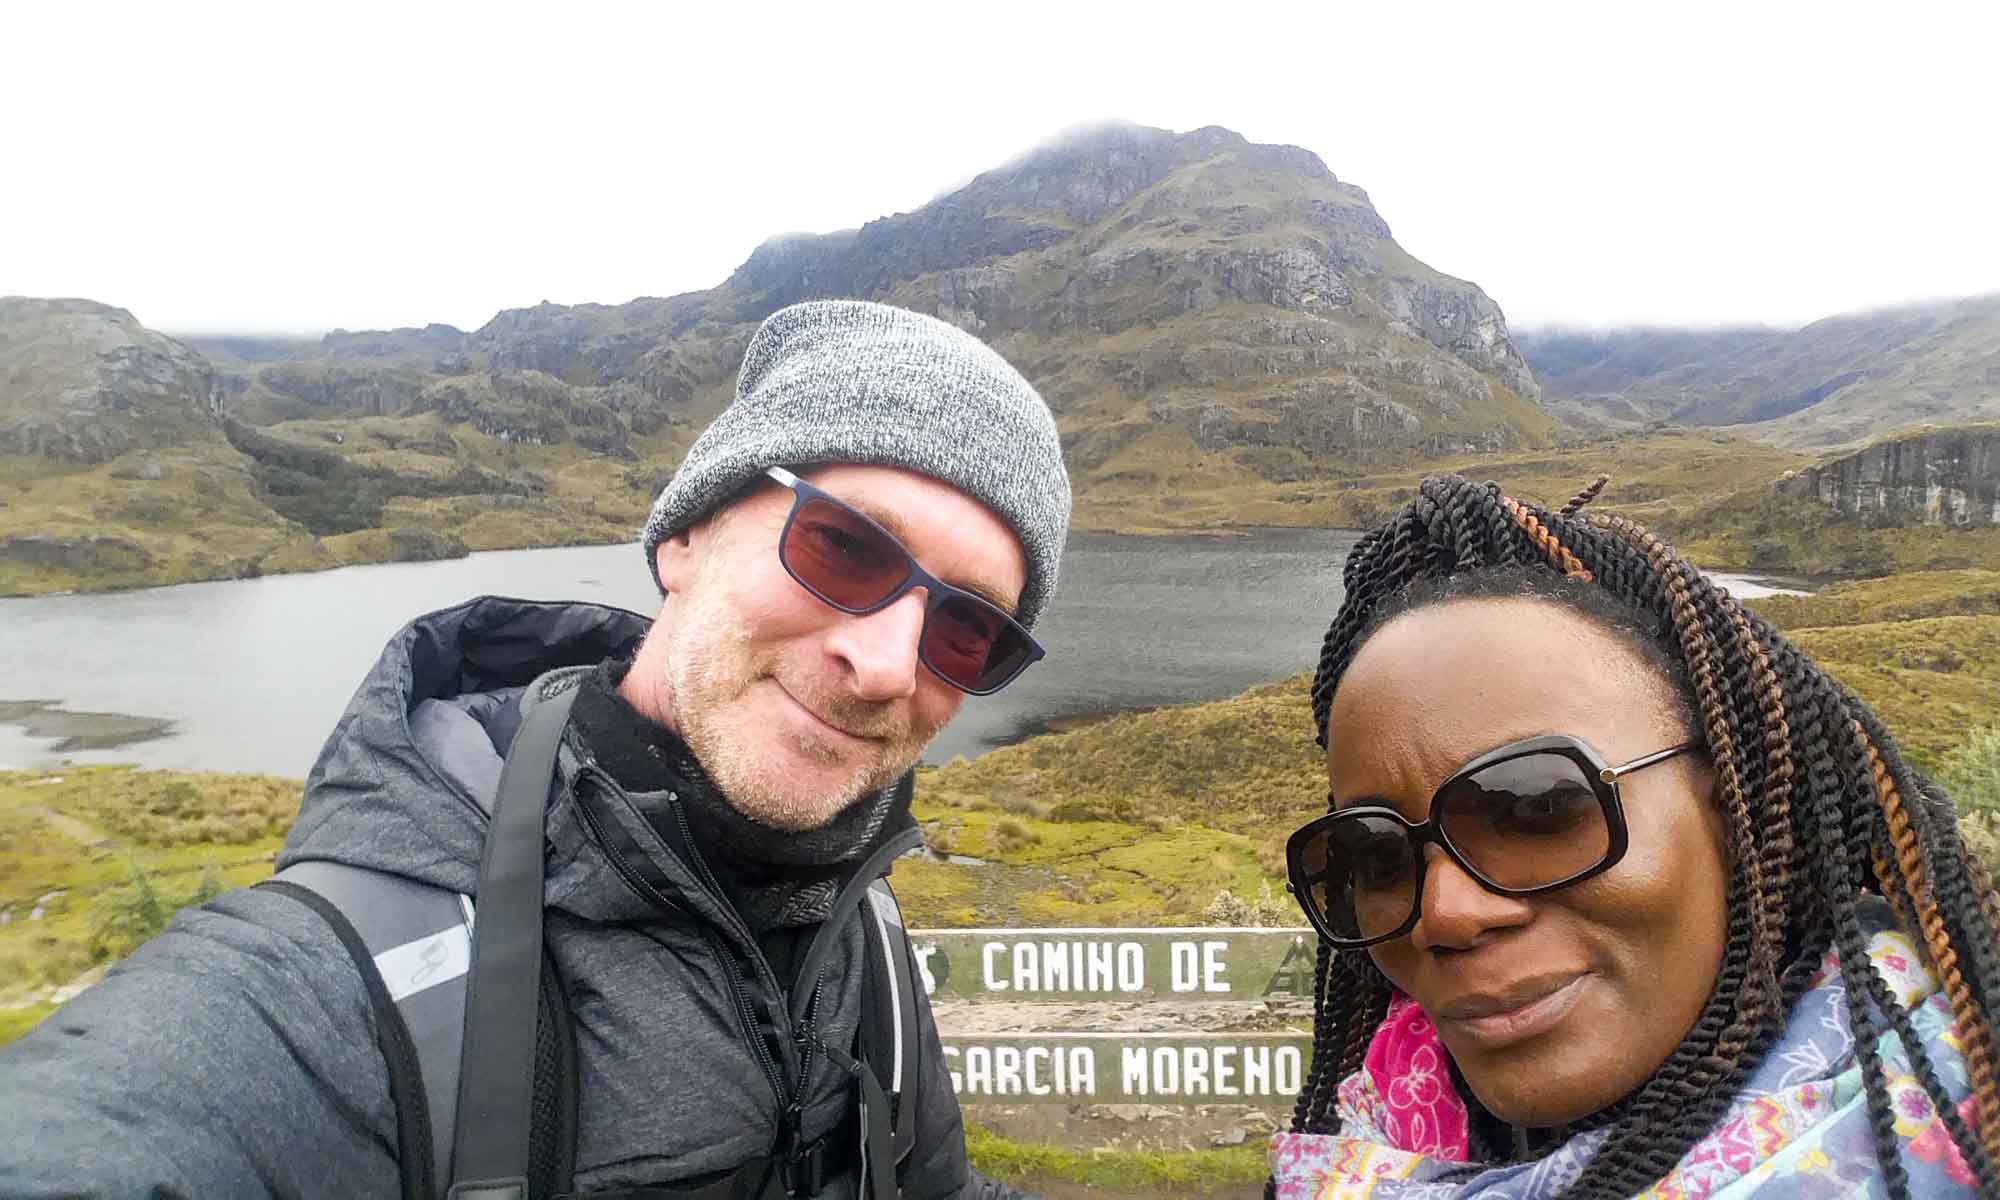
El Cajas National Park
The drive from Cuenca to Guayaquil, passes through a large section of the El Cajas National Park, and so we decided to stop for a short hike down to the laguna Toreadora, which is part of the Garcia Moreno trail. As soon as we mentioned to the staff at our hotel that we were going to the park, they all just spoke about how cold it could get in the park, and that it was not advisable to go unprepared.
They were right, but fortunately we were prepared. With parts of the park reaching over 4,300 meters, most of the park is often engulfed in clouds, and as soon as we got out of the car, the wind and cold hit us hard! Still we pushed through and hiked down to the lake.
Useful information
- Central hotels are best in Cuenca, as it provides the opportunity to walk through the city from your hotel with ease.
- More info about El Cajas National Park and it’s trails can be found at parque-nacional-cajas.org
We arrived in Guayaquil, the largest city in Ecuador, and made our way in the midst of heavy traffic to our hotel. We booked a stay at the Sonesta Hotel Guayaquil, specifically for its location: proximity to the airport and a large shopping mall – not for the shopping but for the massive food court!
And just like that the road trip, and our time on the Ecuadorian mainland was over!
Thanks for the tips!!
You are welcome!
Zie er mooi uit. Mam en ik hebben samen gekeken en jullie verhalen gelezen.
Groetjes van ons en veel plezier!
Mam en Marijke